Okay, so today I needed to get some fence posts in the ground. I decided to use a 4-inch post hole digger for the job. Let me tell you, it was a bit of a workout, but I got it done. Here’s how it went down.
First, I marked out where each post needed to go. I used some string and stakes to make sure everything was lined up straight. Gotta have that fence looking sharp, you know?
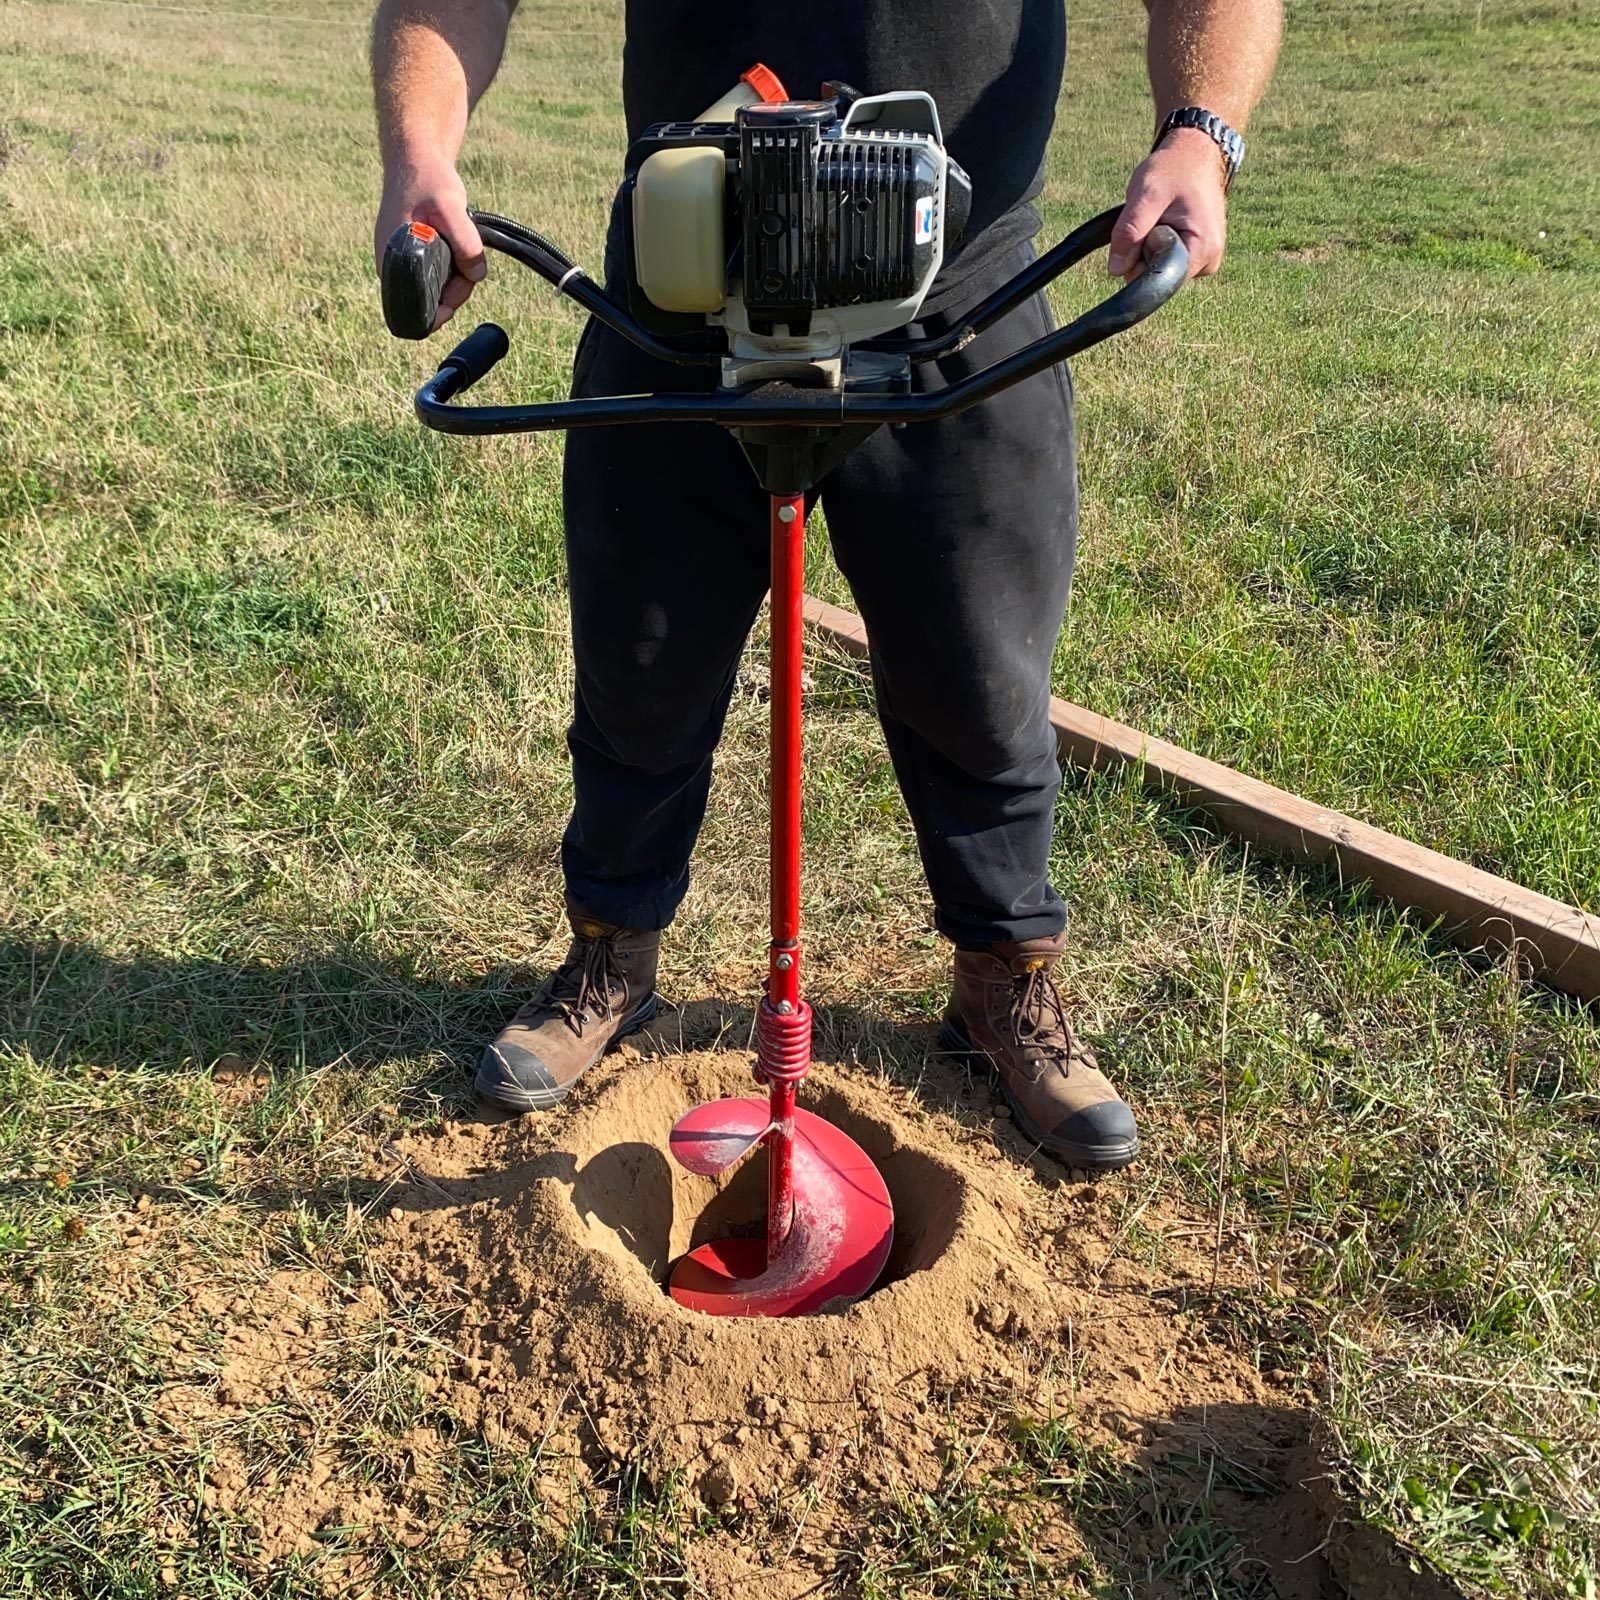
Next, I grabbed my post hole digger. It’s basically two shovels attached together with a hinge, so you can stab it into the ground and pull out the dirt. Simple enough, right?
- I started by pushing the digger into the ground where my first post would go. I had to put some muscle into it, especially since the ground was pretty hard in some spots.
- Once it was in a few inches, I pulled the handles apart to open up the blades and grab a chunk of dirt.
- Then, I lifted the digger out of the hole and shook the dirt loose into a wheelbarrow I had nearby.
- I repeated this process over and over again, going a little deeper each time. It took a while, but I slowly made my way down to the depth I needed, about 2 feet for each hole.
Honestly, it was pretty tiring work. My arms and back were definitely feeling it after a while. But I kept pushing through, taking breaks when I needed to.
Getting the Posts In
Once all the holes were dug, it was time to put the posts in. I placed each post in its hole and made sure it was standing up straight. I used a level to check, just to be precise.
Then, I filled in the holes around the posts with dirt, tamping it down firmly with the end of a 2×4. This helps to keep the posts stable and secure.
Finally, with all the posts in place and the holes filled, I stood back and admired my work. It wasn’t the easiest project, but I was happy with how it turned out. My fence is now ready for the next steps, and it all started with those 4-inch post holes.