Hey, if you’re here, maybe you got that fancy iPad, huh? Now you wanna make a case yourself with one of them 3D printers, don’t ya? Well, let’s talk about it! Nowadays, with a 3D printer, folks are making all sorts of things—phone cases, tablet stands, and yep, even iPad cases. But let me tell ya, just any old filament ain’t gonna cut it. No sir, you gotta pick the right stuff, or that case’ll crack faster than a dropped plate.
What’s This TPU Stuff Anyway?
Alright, let’s start with the basics. You don’t wanna be wasting time and money printing with something that’s too stiff, right? For an iPad case, you want flexibility so it doesn’t snap like a twig when you try to put it on or take it off. That’s where TPU filament comes in handy. TPU is this fancy flexible material that can bend without breaking. Some folks call it “rubber-like,” so you know it’s got some give to it. Polymaker makes a good one, they call it TPU-95A. Real good stuff for cases ‘cause it’s soft enough to protect but sturdy enough to last.
Why Not PLA or ABS? Ain’t They for Printing Too?
Now, you might’ve heard of PLA and ABS filaments too, ‘cause they’re popular in 3D printing. But let me tell ya, they just don’t work as well for cases. PLA, well, it’s stiff as a board. You drop your iPad, and that case is like a brittle shell. ABS is a bit better but still lacks that nice flexibility you want. TPU’s gonna give your iPad the best chance if you drop it.
Picking Out a Good 3D Model
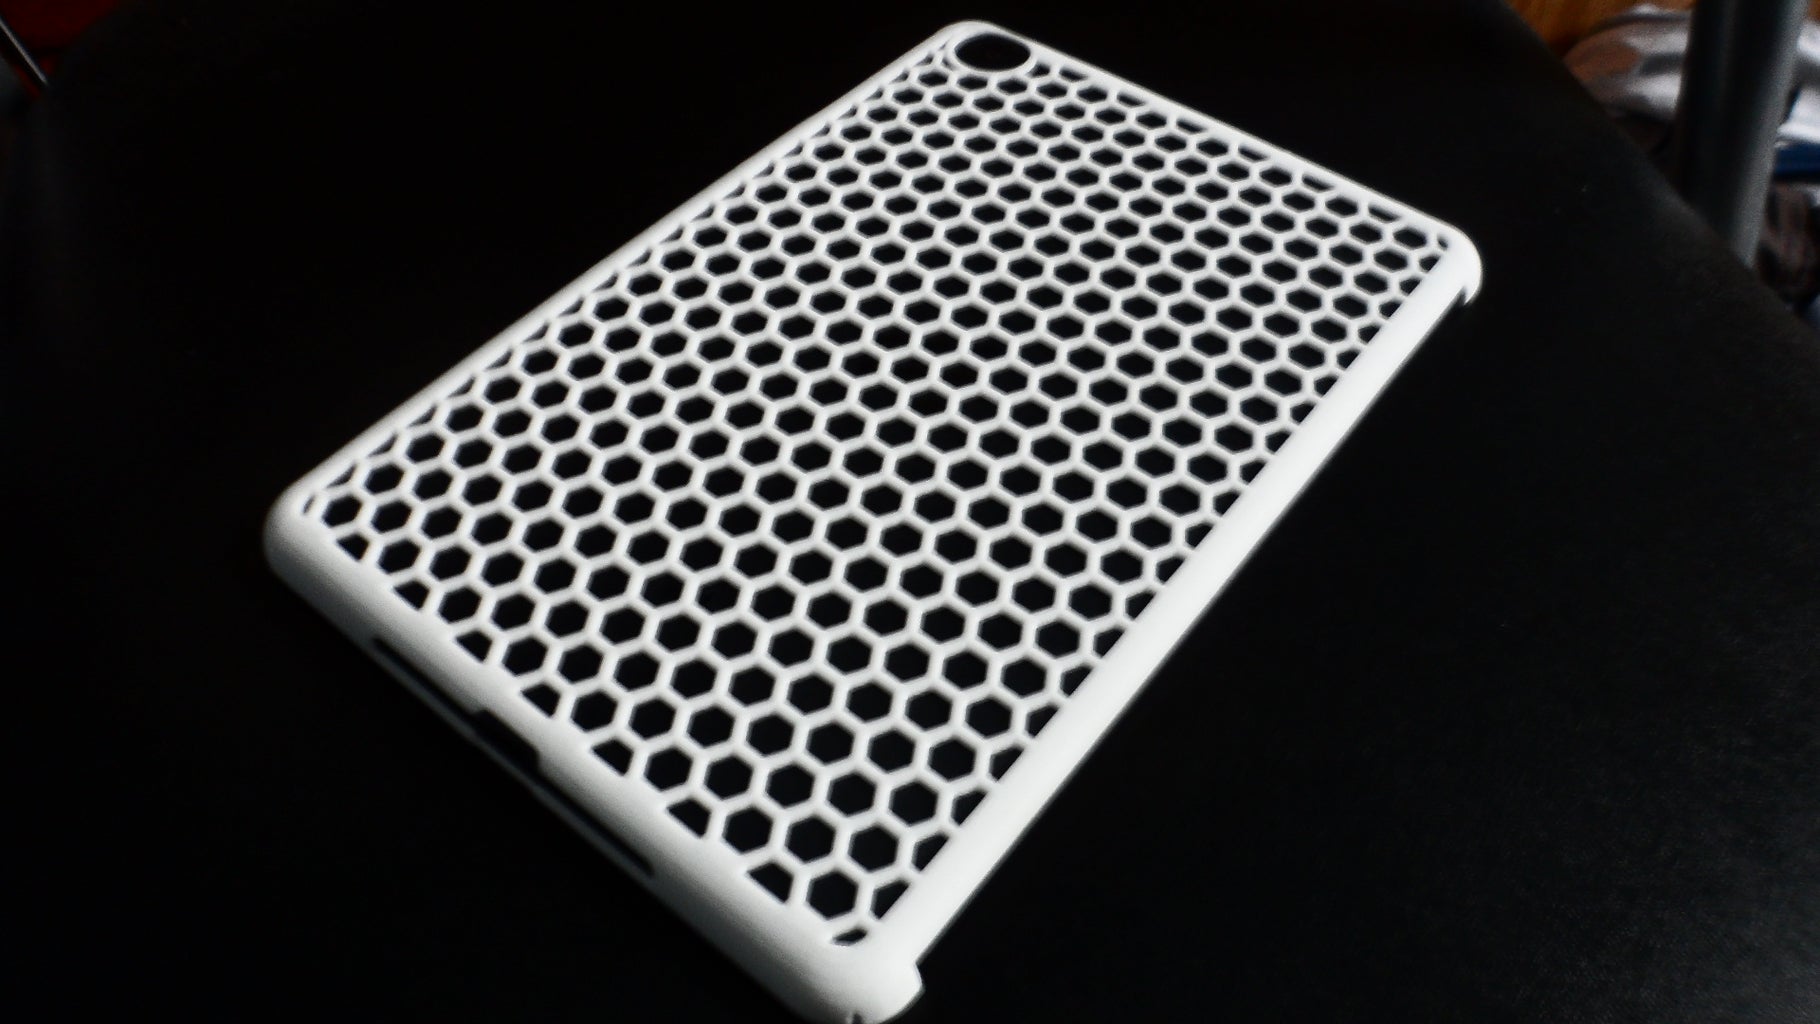
Alright, so you got your TPU filament ready, what’s next? Well, now you need a good model. There’s websites where folks share 3D models for free, like Thingiverse and MyMiniFactory. You can find all sorts of iPad cases there. Some got fancy designs, some are plain, but you pick one that suits ya. Search up “iPad case STL” or “3D printed iPad case model” and you’re good to go. Download that file, and it’s ready for printing!
Setting Up the Printer
Now, 3D printing ain’t always a breeze, let me tell ya that. Some folks use this app called Polymer to keep an eye on their printer. Works with iPhones and such, and you can control the printer from your phone! Pretty fancy, huh? You can start, pause, and monitor your print job. But remember, TPU filament can be tricky. Make sure your printer’s got the right settings for that flexible stuff. Might take a couple tries, but don’t get discouraged, ya hear?
Printing Tips for TPU Filament
- Print Slow: TPU can get messy if you go too fast. Try around 20-30mm per second for best results.
- Adjust the Temperature: TPU usually prints best around 220-240°C, but always double-check what the filament box says.
- Watch for Bed Adhesion: TPU sometimes doesn’t stick well. Use a heated bed around 60°C, or try using a glue stick for extra hold.
Finishing Up and Testing Your Case
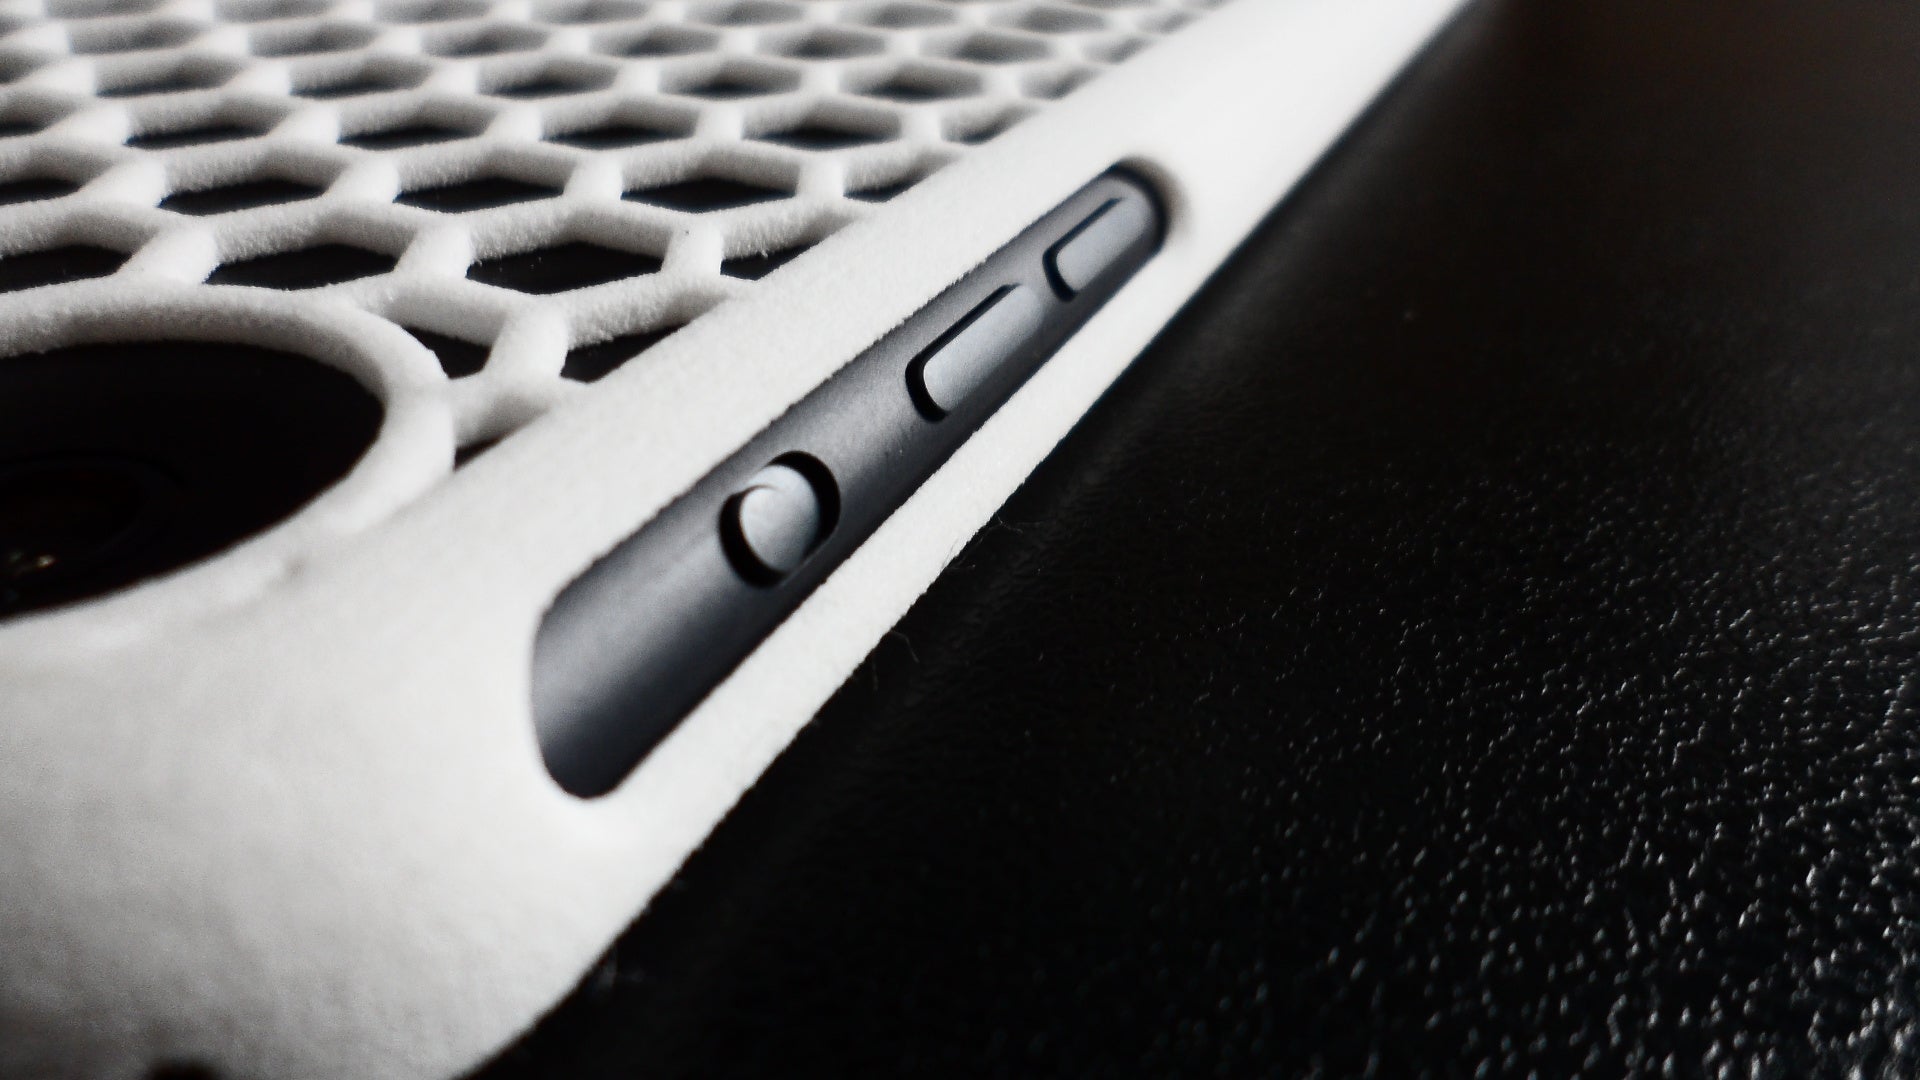
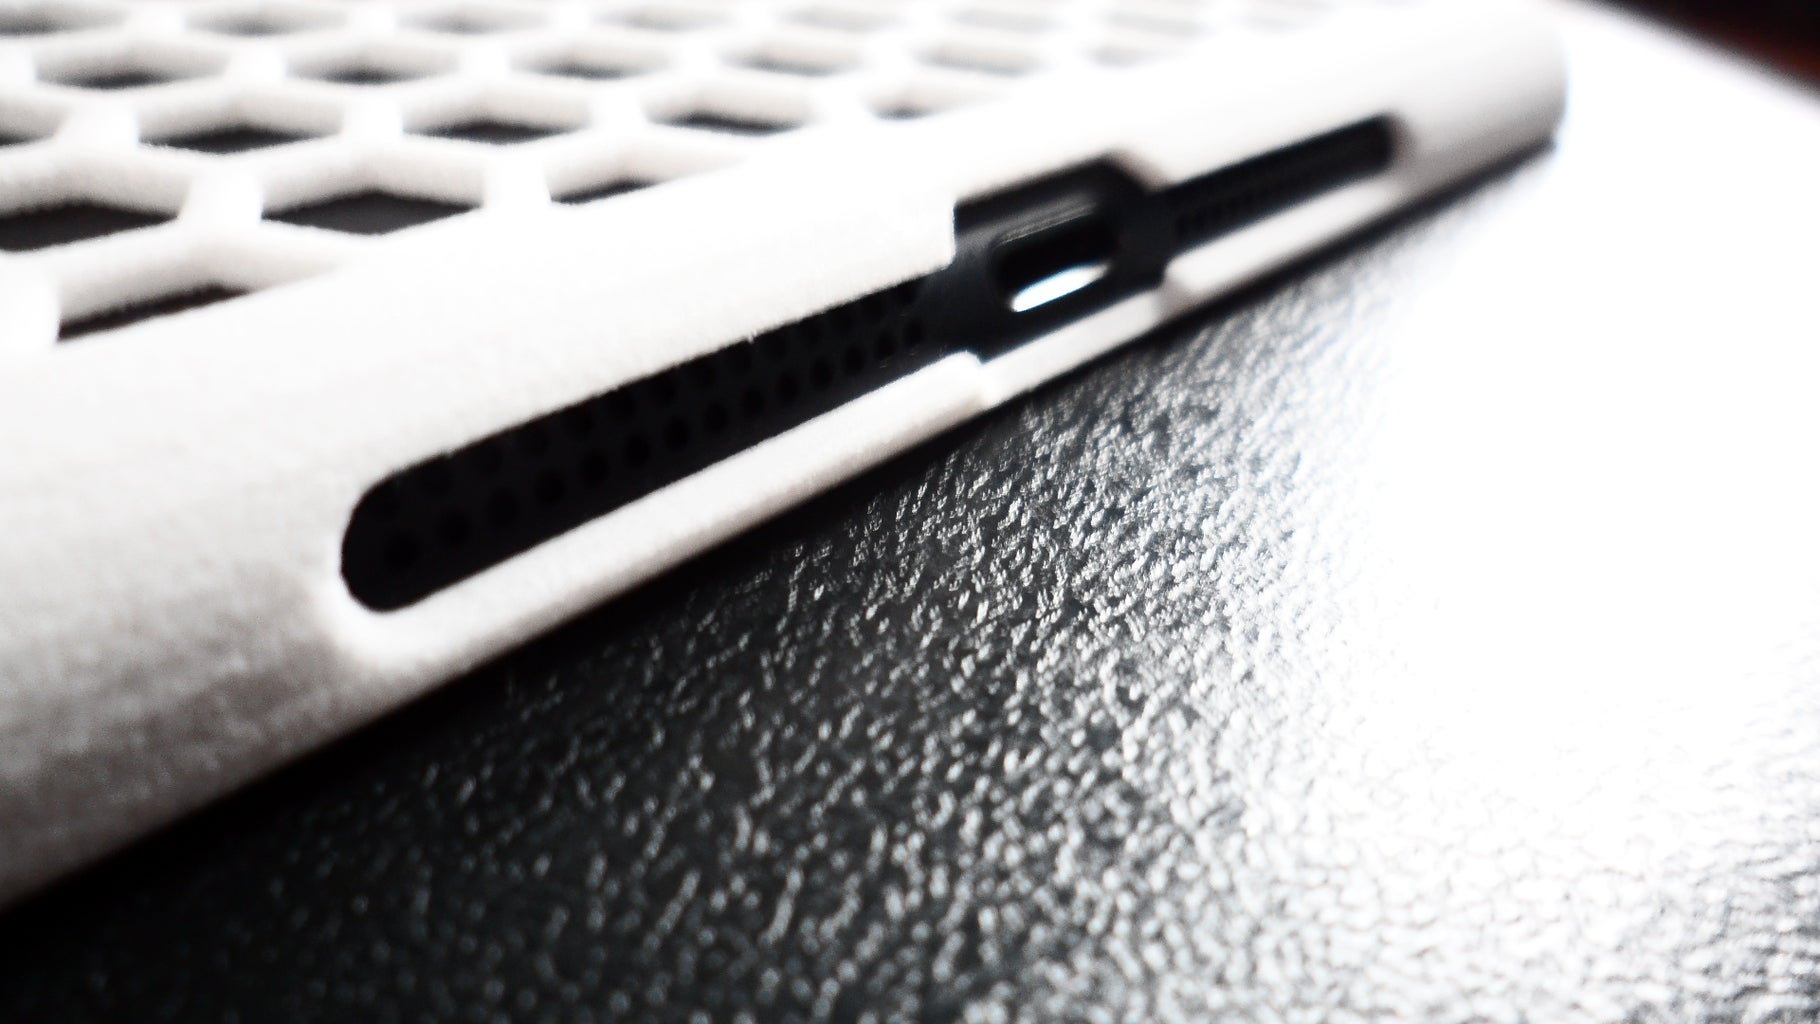
Once it’s all printed, give it a little test fit on your iPad. TPU cases should slide on easy and fit snug. If it’s too tight, maybe check your printer settings or make some tweaks to the model next time. And remember, TPU cases might stretch a bit over time, but they should last a good while. Now, when folks ask you about that case, you can proudly say, “Oh, I made it myself!”
Why 3D Print an iPad Case Yourself?
Some folks might wonder why go through all this trouble. Well, 3D printing your own case means you get a custom look. Maybe add your name on it, or print it in your favorite color! It’s a good way to make your iPad case one-of-a-kind without paying extra. And heck, you learn something new in the process!
So, there ya go! With the right filament, a good model, and some patience, you’ll have yourself a 3D-printed iPad case that’ll impress everyone. Happy printing!
Tags:[3D printing, TPU filament, iPad case, flexible filament, 3D model, polymer app, PLA, ABS]