Okay, so, I decided to spruce up the outside of my house a bit. The brick was looking pretty dull, and I figured a fresh coat of paint would do the trick. But first, I knew I had to prime it. I mean, you can’t just slap paint on brick, right?
First, I gave those bricks a good scrub. I grabbed a bucket, mixed some cleaner with water, and went at it with a scrub brush. I made sure to get all the dirt and grime off, you know, like really scrubbed it down. Then, I hosed it all off and let it dry for a couple of days. Gotta make sure that surface is clean and dry before you do anything else.
Next, I checked the mortar between the bricks. Some of it was a little crumbly, so I got some new mortar and patched it up. That took a bit of time, but it’s important to have a solid base, you know?
Then came the primer. I remembered reading somewhere that you should use a special primer for brick, so I went to the hardware store and picked some up. It said “masonry primer” on the can, so I figured that was the right stuff. The guy at the store said it was a good choice, so that made me feel better.
Choosing the right primer
- Read the label, make sure it says ‘masonry primer’ or ‘brick primer’.
- It’s usually a bit thinner than regular primer, which is good for brick.
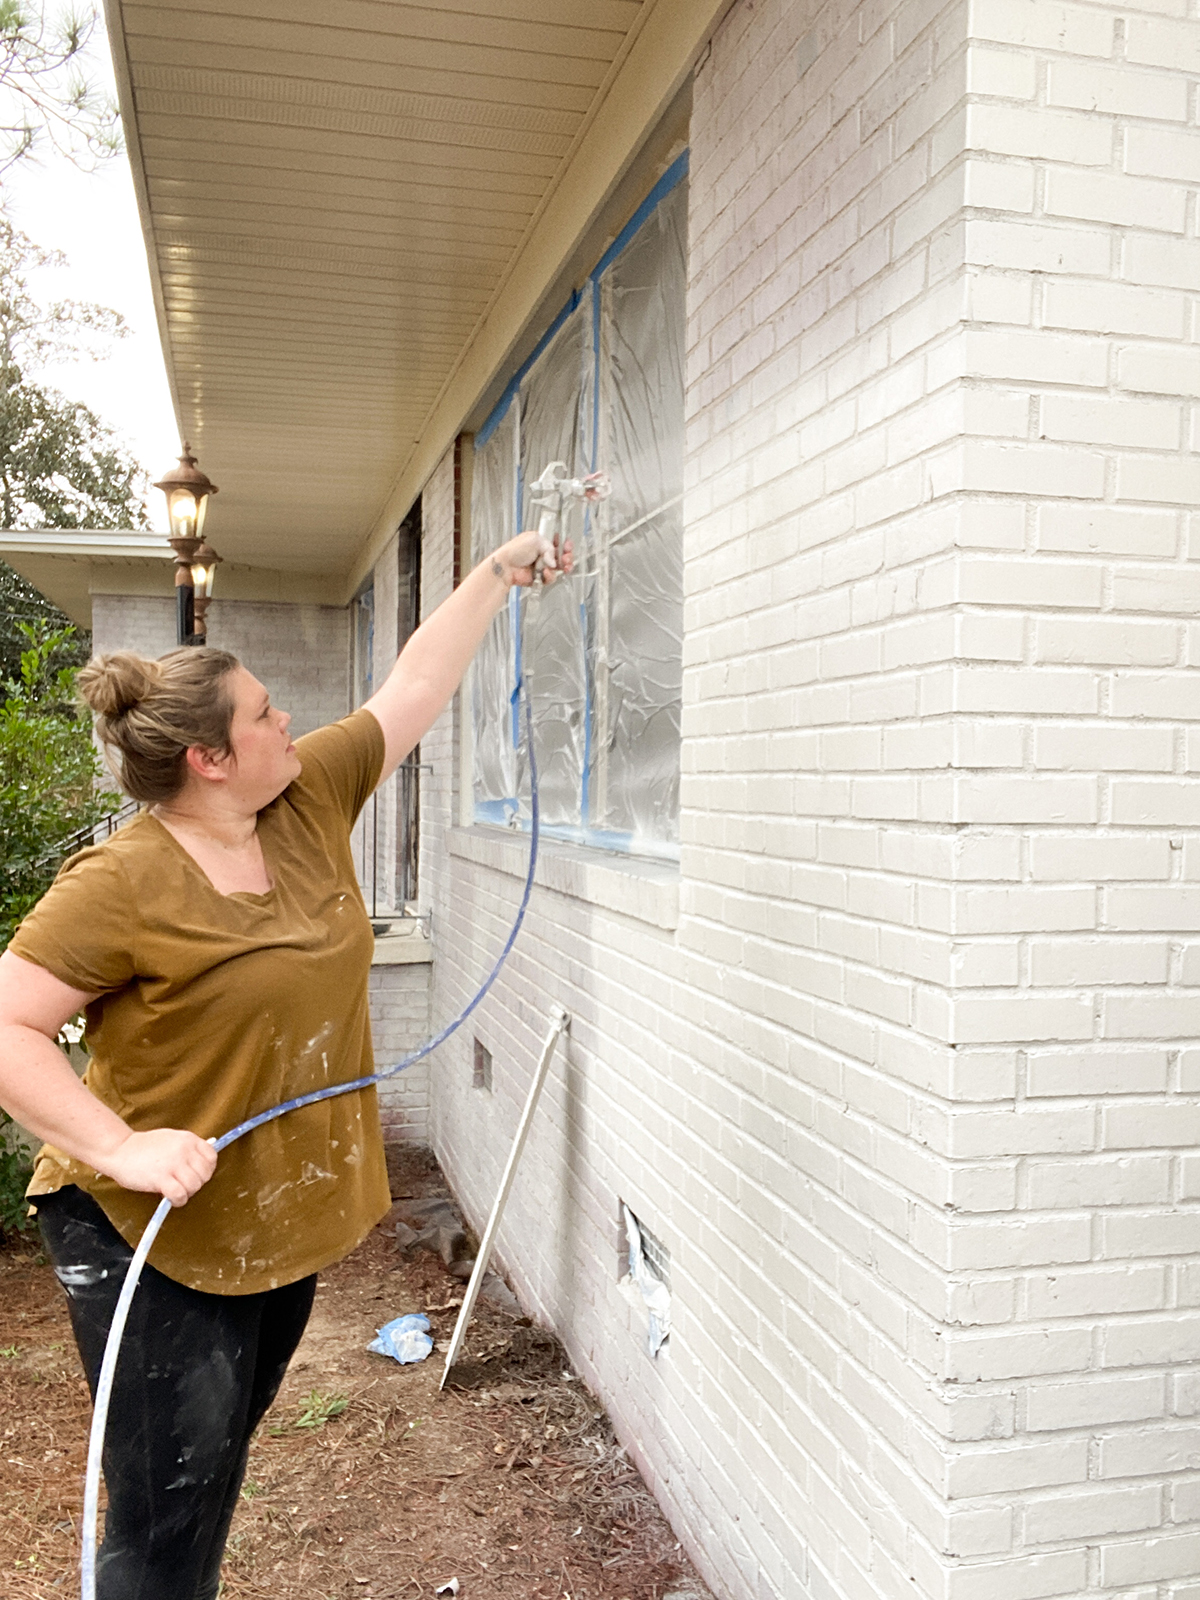
I poured some primer into a paint tray and started applying it with a roller. It went on pretty easily. I made sure to get it into all the little nooks and crannies. It looked pretty good, all covered in white primer. I let that dry for the amount of time it said on the can, I think it was a full day.
And that’s it! After the primer dried, the brick was ready for paint. It was a bit of work, but totally worth it. The primer really helped the paint stick, and the finished product looked amazing. I’m no expert, but I think using the right primer made a big difference.
So, if you’re thinking of painting your brick, don’t skip the primer step! It’s a bit of extra work, but trust me, it’s worth it in the end.