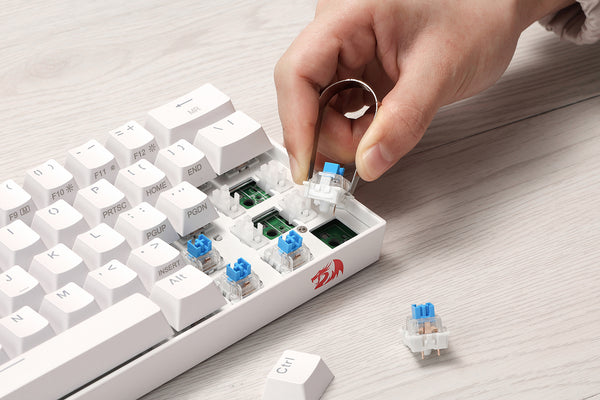
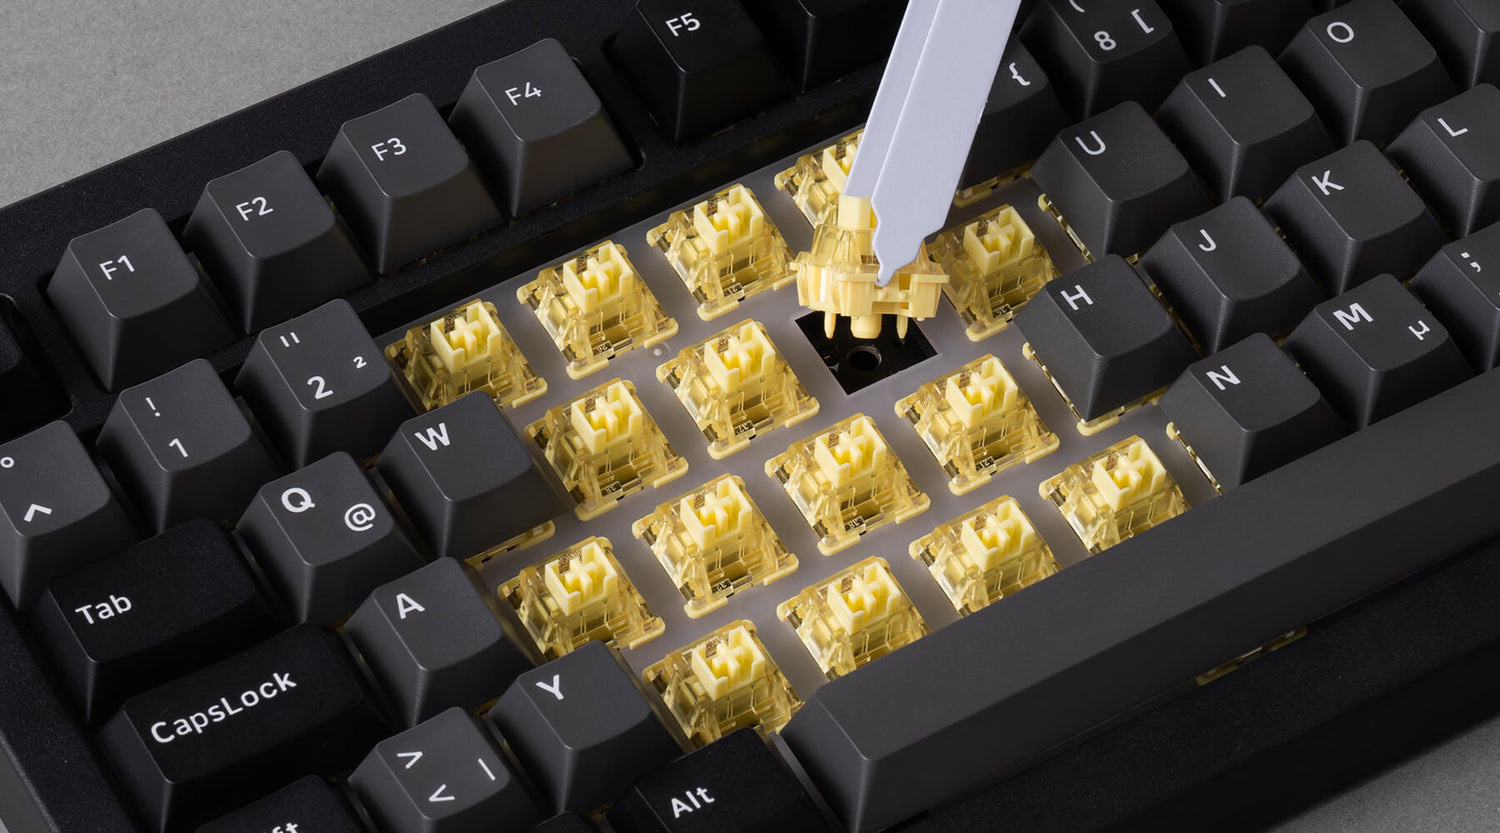
So, I finally took the plunge and decided to build my own custom keyboard. I’d been eyeing those fancy mechanical keyboards for a while, and the idea of “hot-swappable” switches really caught my attention. Basically, it means you can change the switches—the things that register your key presses—without any soldering. Super convenient!
Getting Started
First, I had to gather all the parts. This was a bit of a scavenger hunt, to be honest.

- A Hot-Swappable Keyboard Kit: I went with a 65% layout because I wanted something compact but still with arrow keys. Finding one that I liked and was in stock was a bit tricky.
- Switches: This is where the fun begins! I decided to try a few different types, so I got a sampler pack with a mix of linear, tactile, and clicky switches. It felt like being a kid in a candy store.
- Keycaps: I wanted something that looked good but wouldn’t break the bank. Ended up finding a nice PBT set with a cool color scheme.
- Stabilizers: These are for the bigger keys like the spacebar and shift key, to keep them from wobbling. I learned the hard way that you really need these!
- Tools: I already had a keycap puller and a switch puller from a previous keyboard project, which was lucky. A small screwdriver also came in handy.
The Build Process
Putting it all together was surprisingly straightforward. I started by snapping the stabilizers into the keyboard’s PCB (the circuit board). That was pretty easy, just a bit of pressure.
Next, I started popping in the switches. This is the beauty of a hot-swappable board – you just push them into the sockets. No soldering iron needed! I experimented with a few different switches in different positions, trying to figure out what felt best for me. It was really cool to feel the difference between the switch types.
Once all the switches were in, I put on the keycaps. This was mostly just pressing them onto the switch stems. The only tricky part was getting the spacebar stabilizer aligned correctly. Took a few tries, but I got there eventually!
Final Touches and Testing
With everything assembled, I plugged the keyboard into my computer and… it worked! I was so relieved. I spent some time typing on it, getting a feel for the different switches, and making sure everything was working properly.
I ended up swapping out a few more switches after the initial test. For example, I put the clicky switches on the number keys, and the linear switches on the letter keys. That’s the great part about hot-swappable keyboards – you can really fine-tune it to your exact preferences. It’s a lot like building with LEGOs, but for grown-ups!
It’s been a few weeks now, and I’m loving my custom keyboard. It feels so much better than my old membrane keyboard, and it’s really satisfying to know that I built it myself. Plus, if I ever get bored with the feel, I can just swap out the switches again! Highly recommend giving it a try if you’re even remotely curious about mechanical keyboards.
