Okay, so I’ve been messing around with keycaps lately, and I wanted to try out this “abs doubleshot” thing I kept hearing about. Let me tell you, it was a bit of a journey, so I figured I’d share my experience.
What I Started With
First off, I grabbed a cheap set of ABS doubleshot keycaps. I mean, I wasn’t about to spend a fortune on something I might totally screw up, right? I also made sure I had my tools ready: a keycap puller, some cleaning solution, and a soft cloth. You know, the basics.
Getting Down to Business
The first step was obviously popping off the old keycaps. I used the keycap puller, and honestly, it was pretty satisfying. Each key came off with a nice little click. I made sure to be gentle, though – didn’t want to break anything!
Then came the cleaning. My old keycaps were, uh, let’s just say they’d seen better days. A little bit of cleaning solution and some gentle rubbing with the cloth, and they were looking (and smelling) much better. I also took the opportunity to clean the keyboard itself. Dust bunnies everywhere!
Putting on the New Keycaps
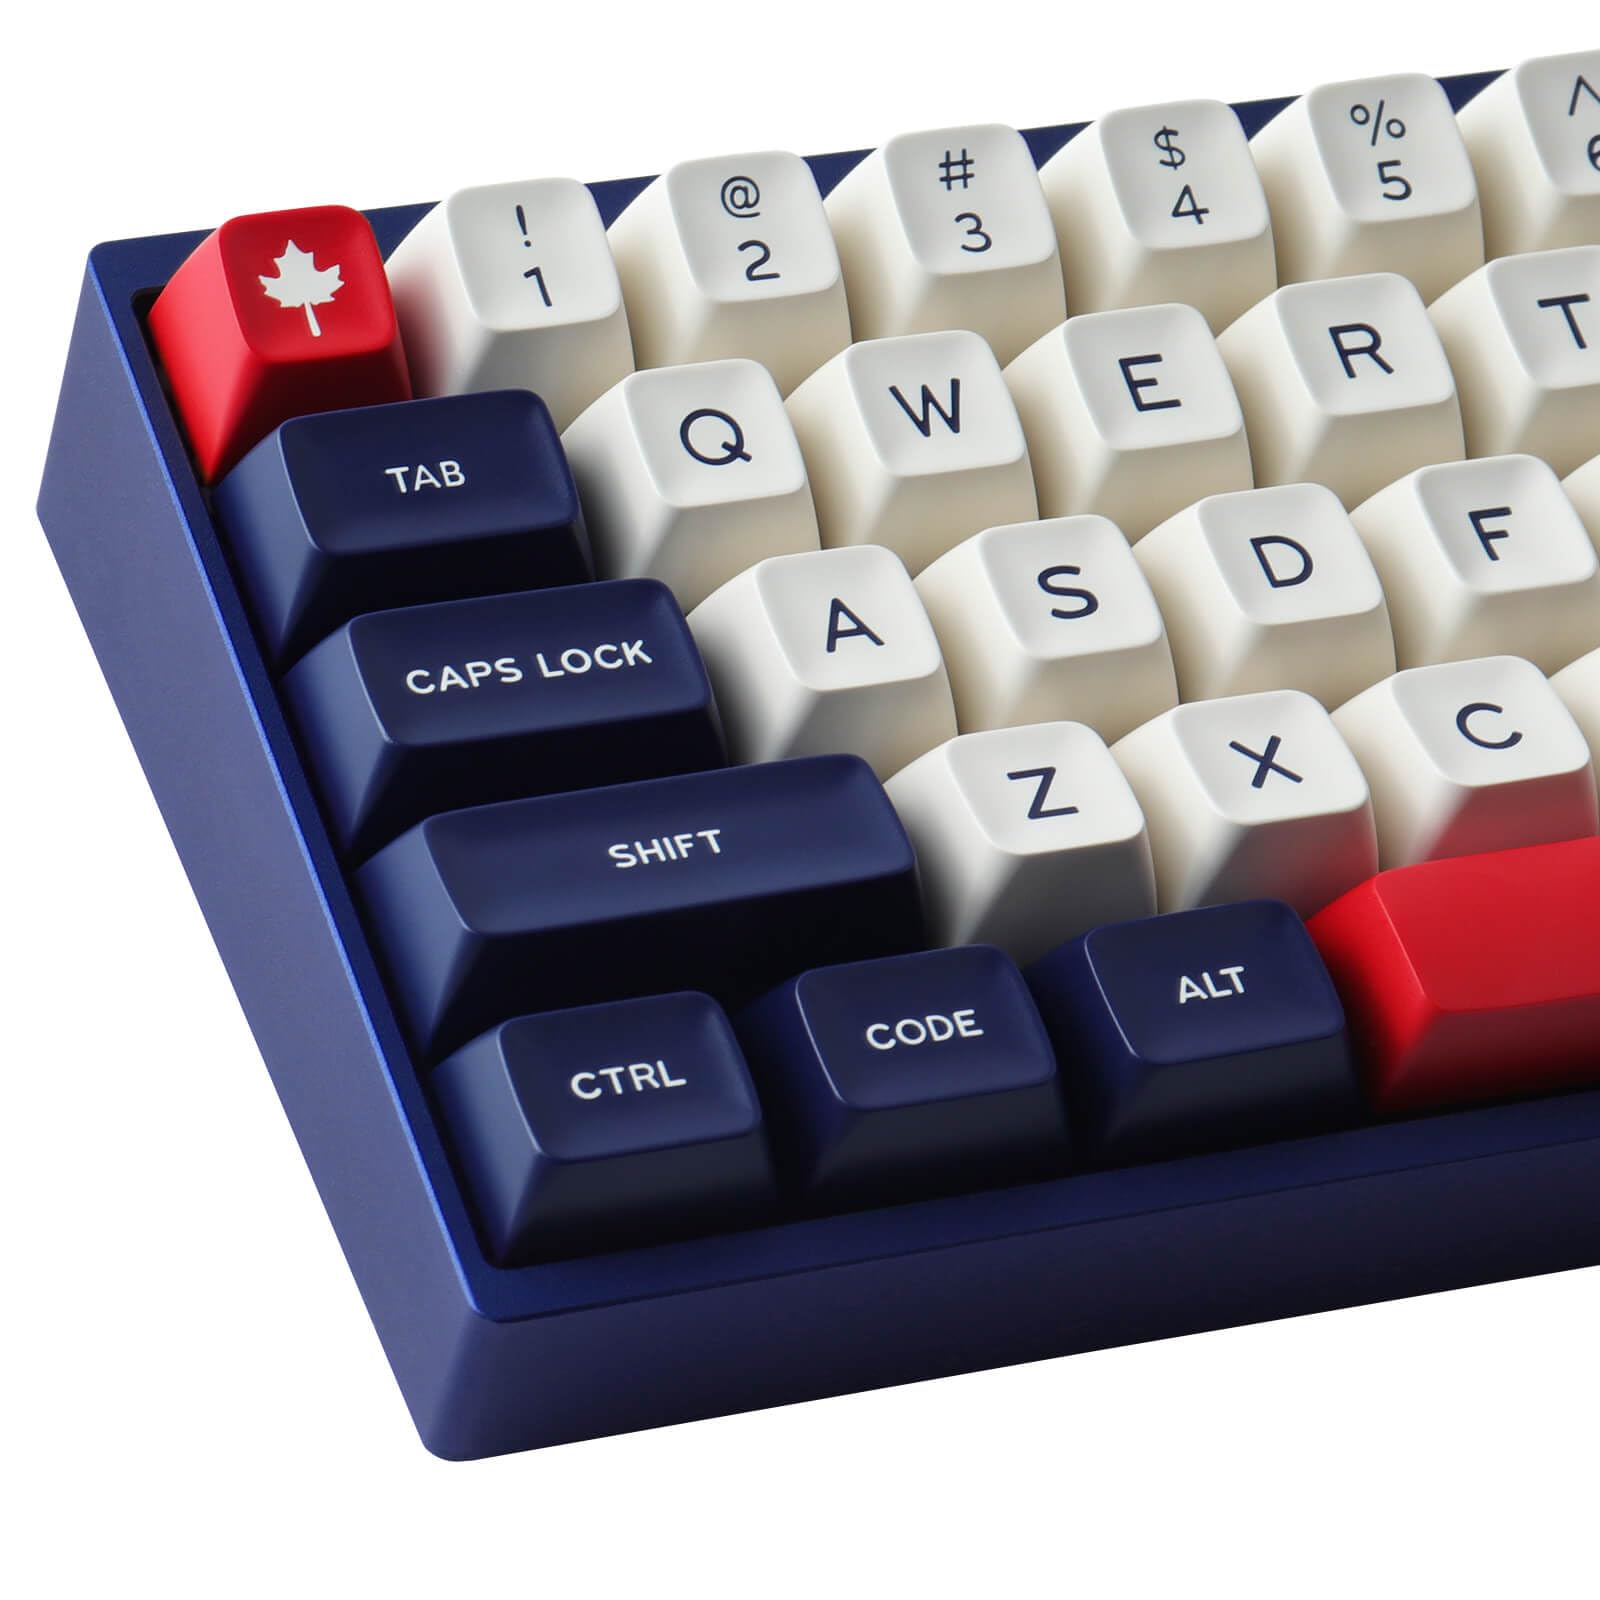
Next up, the main event: putting on the new ABS doubleshot keycaps. This was surprisingly easy. I just lined them up and pressed down firmly until I heard that satisfying click again. It was like putting together LEGOs, but for grown-ups. I went through each key, one by one. Make sure you are putting them to correct position!
The Finished Product
- The Feel: The texture is different, for sure. It has the smooth surface.
- The Look:Visually more appealing.
- Sound:The typing sound is slightly changed.
And that’s it! It was a pretty straightforward process, and honestly, it made a bigger difference than I expected. My keyboard feels, looks different now, and the typing experience. If you’re thinking about upgrading your keycaps, I’d say go for it. Just remember to start slow, be gentle, and have fun with it!