Okay, so I’ve been messing around with mechanical keyboards for a while now, and I finally decided to take the plunge and swap out the switches on my daily driver. I went with brown switches this time, and let me tell you, it’s been a bit of a journey. Here’s how it all went down.
Getting Started
First things first, I needed to gather my supplies. Obviously, I had my keyboard. Then, I grabbed:
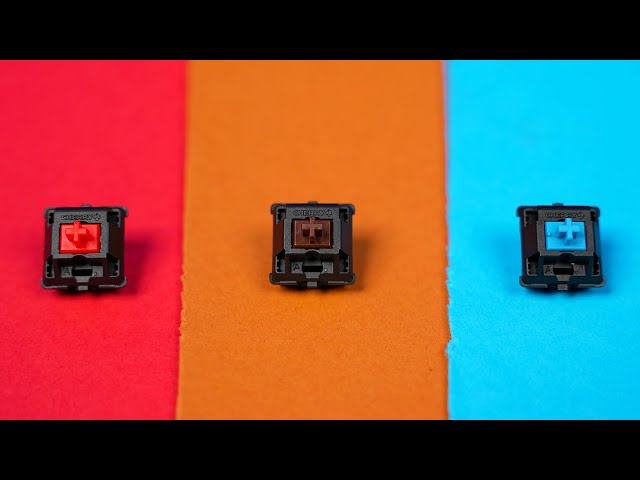
- Brown switches (enough to replace all the old ones)
- A keycap puller – that little tool that helps you yank the keycaps off without breaking anything.
- A switch puller – this one’s crucial for getting the actual switches out of the keyboard.
- A small container to keep all the loose keycaps and switches organized. I used an old Tupperware.
The Keycap Removal Process
This part was pretty straightforward. I used the keycap puller, hooked it under the edges of each keycap, and gently wiggled and pulled upwards. Pop! Off they came. I made sure to put them in the container right away so I wouldn’t lose any.
I did one section of the keyboard at a time – like, all the number keys, then the function keys, and so on. It helped me keep track of where everything went. It get a bit tedious, but it’s important to be patient so you don’t damage anything.
Out with the Old Switches
Now for the slightly trickier part. With all the keycaps off, I could see the switches themselves. I took my switch puller, and this is where it gets a little fiddly.
The switch puller has these two little prongs that you need to squeeze onto the tabs on the top and bottom of the switch. Once you’ve got a good grip, you kind of wiggle and pull upwards. Some switches came out super easy, others were a bit stubborn. I just had to be careful and not force anything too much.
I tossed the old switches into a separate part of my container. You never know, might need them for something later, I think.
In with the New (Brown Switches)
Okay, time for the fun part – putting in the brown switches! This was actually pretty satisfying. I made sure the pins on the bottom of the switch were straight (sometimes they get a little bent), and then I lined them up with the holes on the keyboard’s PCB (that’s the circuit board inside).
Then, it was just a matter of pressing down firmly until I heard a satisfying click. That’s how I knew the switch was properly seated. I went through and did this for all the switches, one by one. It felt good building it up again!
Putting the Keycaps Back On
Almost there! Now it was just a matter of putting all the keycaps back on. This was easy, just press them straight down onto the stems of the new switches. Click! Done.
I made sure to double-check that I put all the keycaps in the right place. Trust me, you don’t want to accidentally swap your “A” and “S” keys.
The Final Test
And that’s it! I plugged the keyboard back into my computer and started typing. The brown switches felt great – that nice tactile bump without being too loud. Success! It was a bit of work, but totally worth it. My fingers are happy, and I’ve got a keyboard that feels brand new (and customized to my liking!). I think the feel is much better for my work.