Okay, so I’ve been messing around with this “London Subway Poster” idea, and I wanted to share how I actually made one. It’s not as hard as you might think!
Getting Started
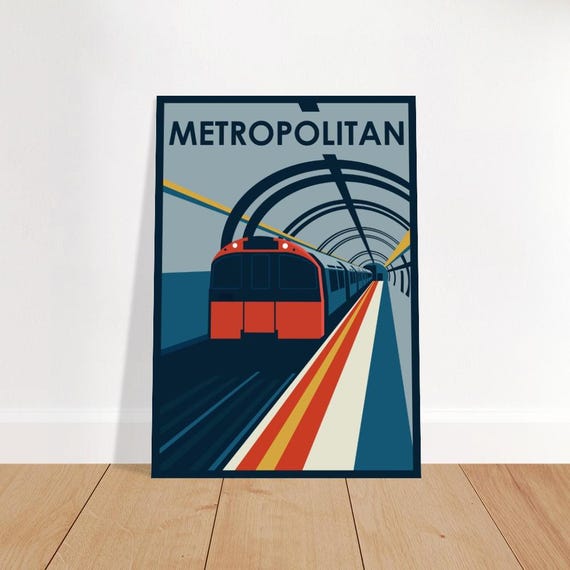
First, I just googled “London Underground posters” to get some inspiration. You know, just to see what the classic ones look like. I noticed a lot of them have bold colors, simple shapes, and that iconic font.
The Process
Next, I opened up my go-to design program. You can use whatever you’re comfortable with. I personally like using canva because of those free and useful design template. And then I just started playing around!
- I picked a bold, bright background color. Think red, blue, or yellow.
- Then I added some simple shapes. I used a circle for the main part, just like the real Underground logo.
- I found a font that looked similar to the official one. It’s called “Gill Sans,” I think, but there are tons of free alternatives that look pretty close.
- I typed in my text – I went with “Mind the Gap,” because, why not? It’s classic!
- I played with the layout, moving things around until it felt right.
Tweaking and Finishing
After that, it was just a matter of tweaking things. I adjusted the colors a bit, changed the font size, and made sure everything was lined up properly. You know, the usual stuff.
Finally, I saved it as a high-quality image. Done! It’s not perfect, of course, but it’s a fun little project, and it definitely captures that London Underground vibe. It’s fun to try.