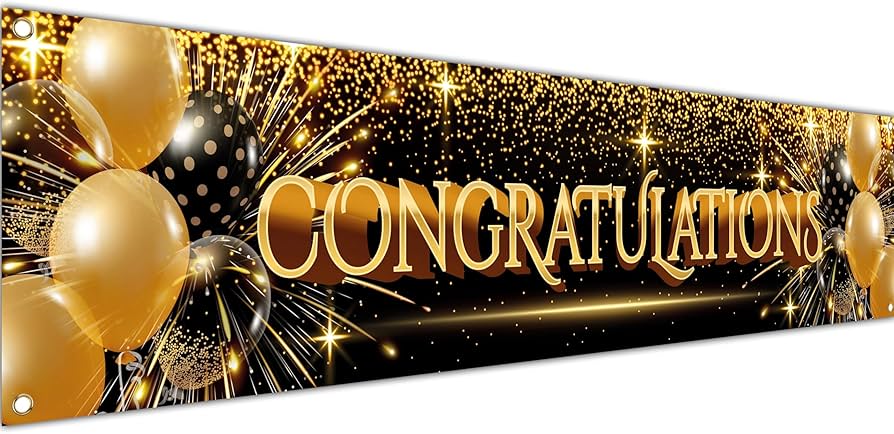
Okay, so I wanted to make a “Congratulations” banner, you know, the fancy gold kind, for my friend’s graduation party. I thought, “How hard could it be?” Turns out, harder than I expected, but still fun!
First, I brainstormed a bit. I knew I wanted it to be gold, obviously, and I pictured those classic, slightly sparkly letters. I did a quick search online for some inspiration, just to see different styles and fonts.

Gathering Supplies
Next, I gathered my materials. Here’s what I ended up using:
- Gold glitter cardstock (the sparkly kind, of course!)
- Regular cardstock (for backing, to make it sturdier)
- Scissors (a good, sharp pair)
- A pencil (for tracing)
- A ruler (to keep things straight)
- Glue (I used a glue stick, but liquid glue would work too)
- String or ribbon (for hanging the banner)
- A hole punch (to make holes for the string)
Making the Letters
Then came the tricky part: making the letters. I decided to freehand them, because I’m pretty decent at drawing, but you could totally print out a template if you prefer. I lightly drew each letter onto the back of the gold glitter cardstock, making sure they were all roughly the same size. I used the ruler to make sure my letters were nice and straight.
After that, I carefully cut out each letter with my scissors. This took a while, and my hand definitely got a little tired! Once all the gold letters were cut out, I traced them onto the regular cardstock and cut those out too. This gave each letter a sturdy backing.
Assembling the Banner
Next I glued.
I applied glue to the back of each gold letter and carefully stuck it onto its corresponding cardstock backing.

Once the glue was dry, I used the hole punch to make two holes at the top of each letter. I tried to make sure they were evenly spaced so the banner would hang straight.
Finally, I threaded the string through the holes, leaving some extra string at each end for tying. And there it was! My very own “Congratulations” banner. It wasn’t perfect, but it was handmade, and I was pretty proud of it.
It actually looked pretty good hanging up at the party! My friend loved it, and that’s all that mattered. It was a fun little project, and I learned a few things along the way. Definitely recommend giving it a try!