Alright, so you’re poking around trying to figure out the best water sealer for decks, huh? Been down that road myself, and let me tell you, it’s not always a straight shot from the store shelf to a perfectly sealed deck. It’s a bit of a process, and everyone’s got an opinion.
My own deck, well, she was starting to look a bit sorry for herself. You know how it is – gets all grey and weathered, starts soaking up rain like it’s never seen water before. I knew if I didn’t get on it, I’d be looking at replacing boards sooner rather than later, and who wants that headache?
So, I started digging around. Man, the choices! Oil-based, water-based, clear, tinted, ones that say they’ll last a decade – yeah, right. I read a bunch of stuff online, probably too much, and even cornered the guy at the local hardware store for a chat. He actually had some decent advice, for a change.
I ended up going for a water-based sealer. Heard they were a bit easier on the cleanup and didn’t stink up the whole neighborhood quite as much. Plus, the one I picked had some good talk about UV protection, ’cause the sun here can be brutal, and I was sick of that faded look. And, of course, needed something to keep that green slimy stuff from making a comeback every spring.
Getting Down to Business: The Prep and Application
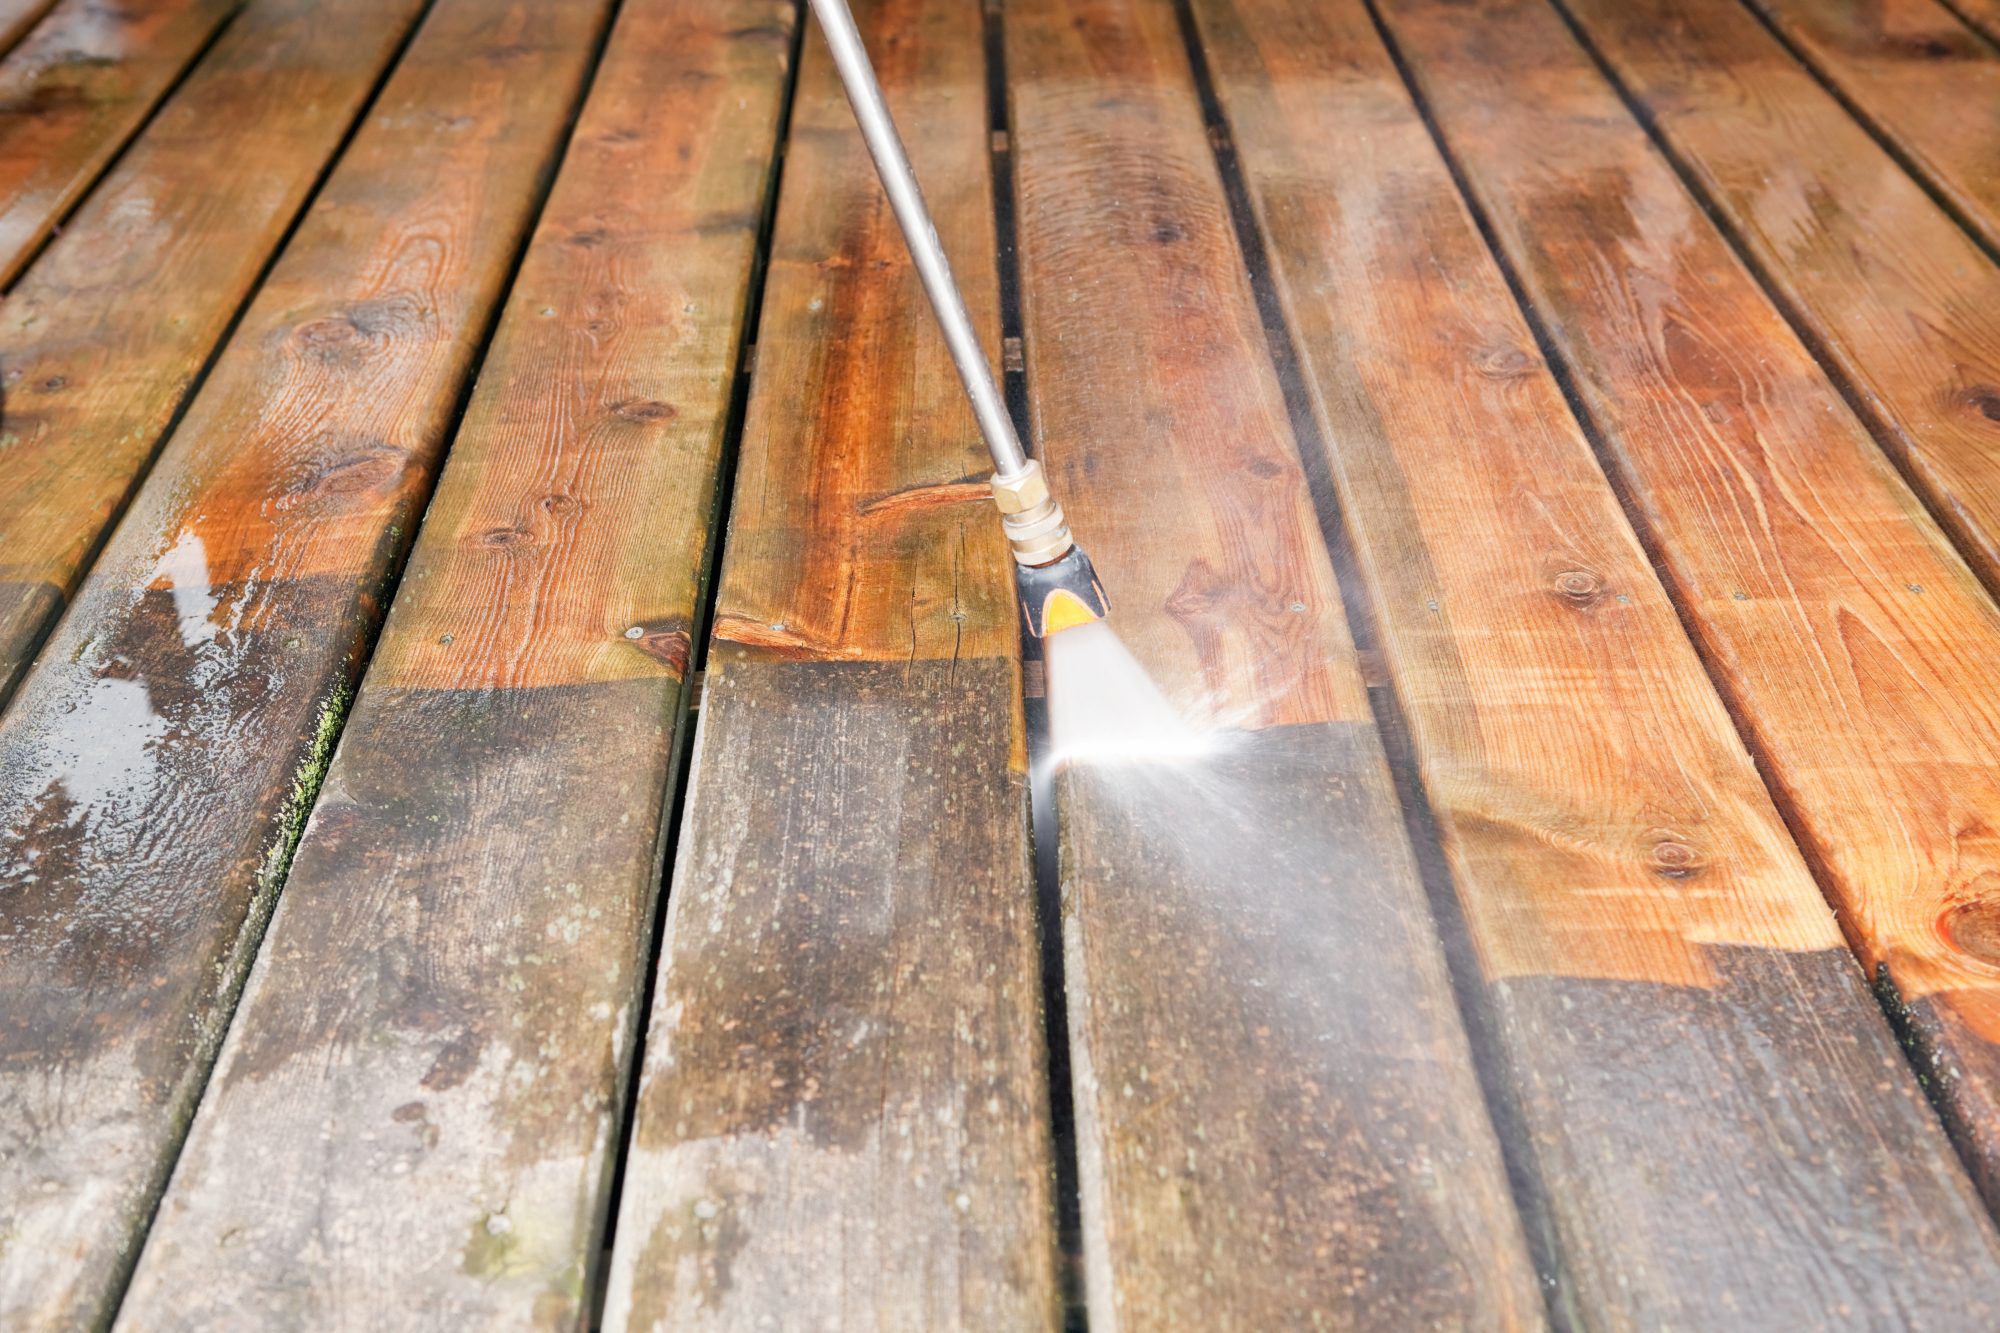
Now, the prep work. Seriously, don’t cut corners here. I know it’s the boring part. I spent a good chunk of a Saturday just cleaning the thing. First, I hit it with the power washer – carefully, mind you, didn’t want to fuzz up the wood. Then, a proper deck cleaner to get all the grime off. Had to let it dry out completely for a couple of days after that. Patience, not my strong suit, but necessary.
Then, finally, the sealing part. I opted for a good quality synthetic roller for the main deck boards and a decent brush for the railings, spindles, and those awkward corners. Some folks swear by pump sprayers, and I get it for big areas, but my deck ain’t the size of a football field, and I felt like I got better control with the roller, really working the sealer into the wood grain.
The stuff I chose went on pretty smoothly. I made sure to apply a thin, even coat. Slapping it on thick is a bad idea, just leads to a sticky mess that doesn’t dry right. I just worked my way from one end to the other, keeping a wet edge. You also gotta keep an eye out for any puddles or milky spots forming. If you see any, you gotta smooth ’em out with your brush or roller pretty quick before they start to set up and look weird. Trust me on that one.
The wood was thirsty, man. It just drank that first coat right up. The can said one coat might be enough for some situations. Call me old-fashioned, but my deck looked like it could use a bit more love. So, after letting the first coat dry according to the instructions – which was about a day – I went ahead and put on a second thin coat. Figured it couldn’t hurt, especially with our weather.

The Waiting Game and The Big Reveal
And then, more waiting. The instructions said to give it a good 24 to 48 hours before any real foot traffic, and even longer before dragging all the furniture back on. That was tough, especially when the sun was shining and all you wanted to do was sit out there.
So, how’d it turn out? Pretty darn good, I gotta say. The water now beads up on the surface like you see on a freshly waxed car. That’s the golden sign, right? The color of the wood deepened just a touch, not too much, and it really brought out the grain. Looks a whole lot healthier, that’s for sure. And hopefully, it’s now got a good shield against the rain and the sun beating down on it.
As for how long this “best” sealer will actually last? Your guess is as good as mine. They all make big promises. I’m just hoping to get a solid couple of years of protection before I have to think about this whole circus again. For now, the deck looks good, it’s protected, and that’s one less thing on my to-do list. It took some elbow grease, yeah, but definitely worth it to have a nice-looking deck that isn’t slowly turning back into a tree.