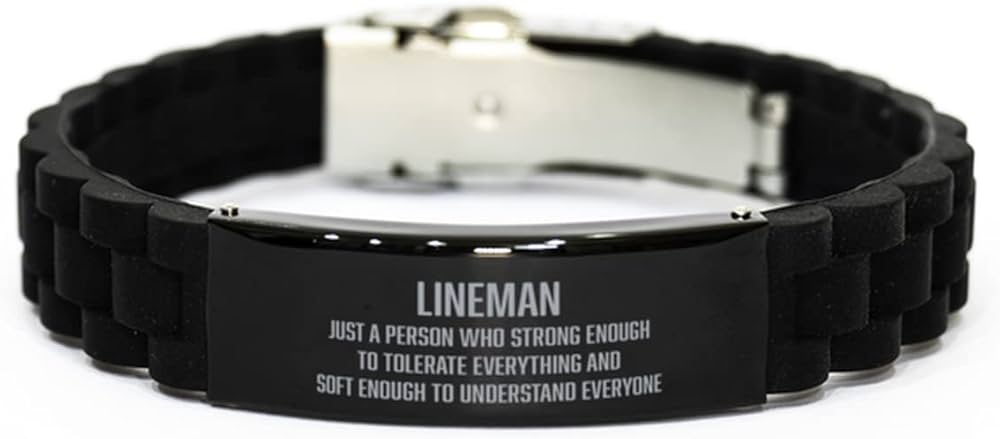
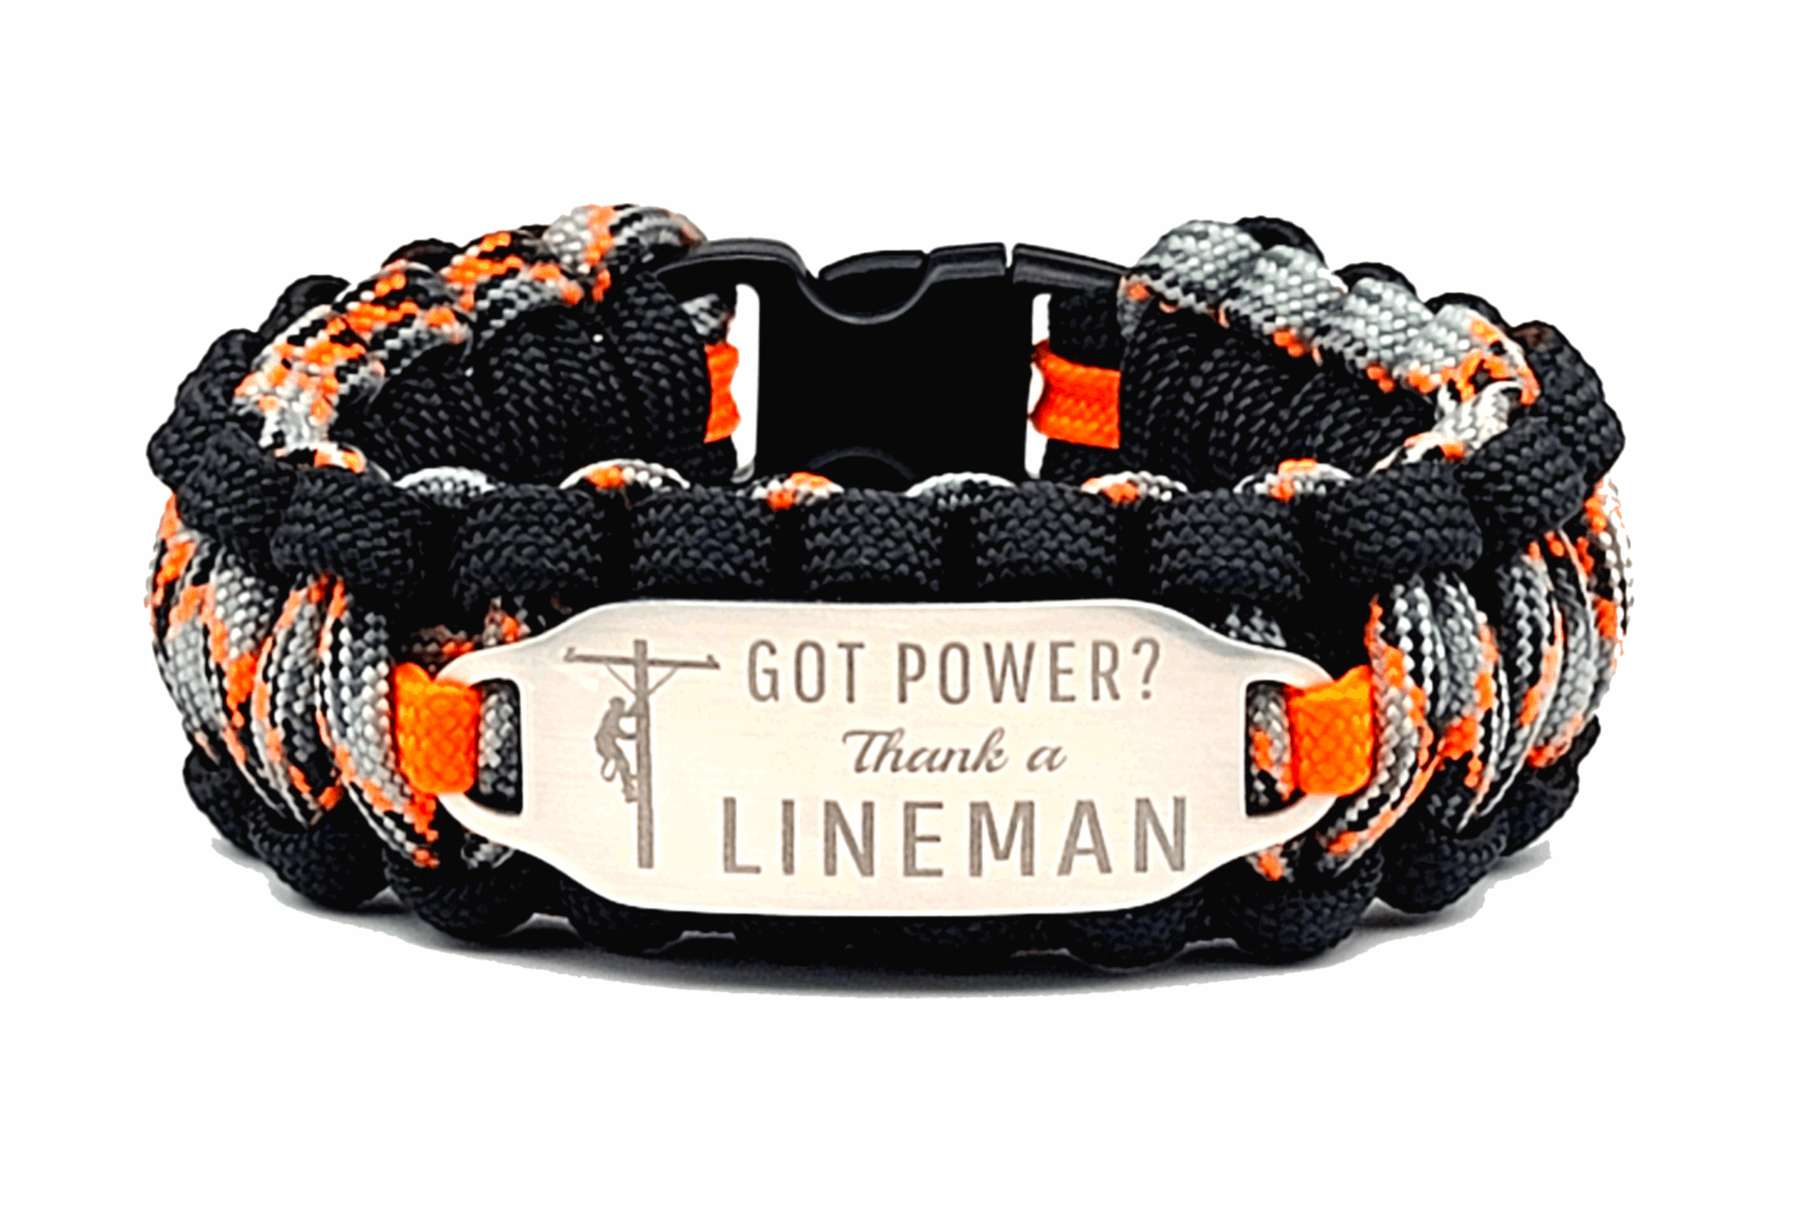
Alright, so I decided to try my hand at making one of those lineman bracelets. Been seeing them around, and they look pretty rugged, useful even. Plus, I like to keep my hands busy with little projects like this. It’s good to actually make something tangible, you know?
Getting the Bits and Pieces
First off, I had to gather the materials. Wasn’t anything too complicated. I already had some paracord lying around from another project, a good strong type. I picked a sort of olive drab color; always liked that. Then I needed a buckle. I found a simple plastic side-release buckle, nothing fancy, but it felt sturdy enough for what I wanted. You also need a good pair of scissors and a lighter, for cutting and sealing the ends of the cord. Pretty basic stuff.

- Paracord (about 10-12 feet for a decent size, I found)
- A buckle
- Scissors
- A lighter
The Actual Weaving Process
So, with everything laid out, I started. I’d watched a couple of videos online, just to get the general idea of the weave. Most folks use what they call a cobra knot, or something similar. It looked easy enough in the videos, but let me tell you, my first few attempts were a bit… well, lumpy. It’s all about keeping the tension consistent. If you pull one loop too tight and the next one too loose, it just looks wonky.
I sat there for a good hour, just practicing the motion. Loop, tuck, pull. Loop the other way, tuck, pull. It’s repetitive, but once you get into a rhythm, it’s actually quite relaxing. I had to undo my work a few times. Patience, I told myself, that’s the key. You can’t rush it if you want it to look decent.
I measured the cord through the buckle first, to get the starting length right for my wrist. That’s an important step; too short and it’s useless, too long and it’s floppy. Then I just started weaving, pushing the knots up tight against each other. Slowly, it started to take shape. It wasn’t perfect, not like some of the ones you see that are machine-made or done by guys who’ve made hundreds, but it was mine.
Finishing Touches
Once I got to the end, near the other part of the buckle, I had to finish it off. This part always makes me a bit nervous. You cut the leftover cord, then you have to carefully melt the ends with the lighter. The idea is to melt it just enough so it doesn’t fray, and then press it flat against the bracelet so it fuses and holds. You gotta be quick and careful not to burn yourself or melt too much of the bracelet itself. My first melt was a bit messy, a bit blobby, but it held. Good enough for a first real go.
The Outcome and Thoughts
So, there it was. My very own lineman bracelet. It felt pretty solid. I tried it on, and the fit was good. It’s not something I’d wear every single day, maybe, but it’s cool to know I made it. And honestly, it’s quite a strong little thing. You can unravel these in an emergency and use the cord for all sorts of stuff, or so they say. I haven’t had to test that part yet, thankfully.
I’ve made a couple more since then, tried different colors, got a bit neater with the knots and the melting. It’s a satisfying little craft. Doesn’t cost much, doesn’t take up too much space, and you end up with something you can actually use. Or, you know, just something that looks kinda cool. It’s funny how these simple, old-school skills still have a place. Definitely better than just scrolling on my phone for an hour.
