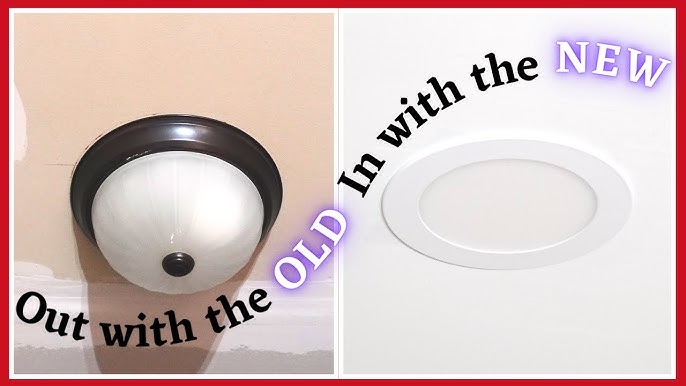
Getting Started with the Slim LED Ceiling Light
Alright, so I finally got around to swapping out that old, clunky dome light in my hallway. You know the type, collects bugs and dust like it’s its job. I’d been eyeing these slim LED ceiling lights for a while. They just look so much cleaner, and I figured, hey, less energy too, probably.
The Prep Work – Or Lack Thereof, Almost
First things first, I grabbed the new light from the hardware store. The box made it look super easy, like a five-minute job. Famous last words, right? Ha. Anyway, I got my trusty screwdriver set out, a small ladder, and, most importantly, I made sure the power to that circuit was OFF at the breaker. Seriously, don’t skip this. I’ve heard stories, and I’m not looking to become one.

The old light fixture was a bit of a beast to get down. It was probably up there since the dinosaurs roamed. Dust everywhere! I should’ve put a sheet down, but, well, hindsight is 20/20.
Tackling the Installation
Once the ancient relic was down, I took a good look at the wiring. Luckily, it was pretty standard stuff. The new slim LED light was, as advertised, super lightweight. That was a big plus, holding it up while trying to connect wires isn’t my favorite workout.
The instructions were… okay. Mostly pictures. I’m more of a words guy, but I managed. It basically involved:
- Screwing in the little mounting bracket that came with the new light to the ceiling electrical box. That part was easy enough.
- Connecting the wires. My house has the usual black, white, and copper ground. The new light had similar colors, so I just matched them up – black to black, white to white, and the ground wire from the light to the copper ground wire from the ceiling. Used those little wire nut connector thingies. Twisted them on good and tight.
- Then, the slightly tricky part. Getting the light itself to attach to the bracket. It’s one of those “push and twist” or “align and slide” deals. Took me a couple of tries, holding it flush against the ceiling while fumbling a bit. My arms were definitely feeling it by then.
The Big Reveal and Final Thoughts
After a bit of wiggling and a satisfying click, it was on! I went and flipped the breaker back on, held my breath a little, and hit the light switch. And pow! Light! And so much of it!
Man, what a difference. It’s so much brighter and the light is a cleaner white, not that dingy yellow from before. Plus, it sits almost flush with the ceiling, so it looks super modern and sleek. No more bug-catching dome!
Was it worth it? Absolutely. It wasn’t rocket science, just took a little patience. Took me maybe, I don’t know, 30-40 minutes altogether, mostly because I was taking my time and double-checking things. If you’re thinking about it, I’d say go for it. Just remember to turn off the power. Seriously. Don’t be a hero.
