Okay, so I wanted to add some finishing touches to my DIY project – a bookshelf I’ve been building. I decided to use flat plastic trim molding because it seemed easy to work with and would give it a clean, professional look. Let me tell you, it was a bit of a learning curve, but I figured it out!
Gathering My Supplies
First things first, I needed to get my hands on the materials. I went down to my local hardware store. The main things I grabbed were:
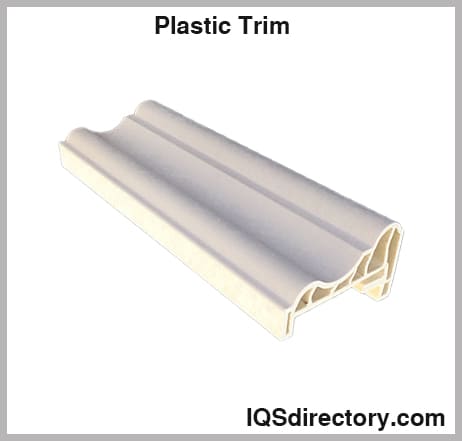
- Flat plastic trim molding – I chose a simple, white design that matched my bookshelf.
- Measuring tape – Gotta get those measurements right!
- Miter saw – For cutting the molding at angles (mostly 45-degree angles for the corners). You could probably use a hand saw too, but the miter saw makes it way easier.
- Construction adhesive – To stick the molding onto the bookshelf.
- Caulk – To fill in any gaps and make it look seamless.
- Sandpaper For the coner and make it smooth.
- Painting – paint the bookshelf and make it beautiful.
Getting to Work
I started by measuring the edges of my bookshelf where I wanted to apply the trim. I wrote down each measurement, making sure to double-check everything. It’s always “measure twice, cut once,” right? You want to cut a little bit longer at first。
Then, I used my miter saw to cut the molding. For the corners, I cut 45-degree angles so they would fit together nicely. This part was a little tricky, and I definitely messed up a few pieces at first. Practice makes perfect, I guess!
If you first time to do that, I suggest you could try some scrap pieces of molding first.
Once I had all my pieces cut, I did a dry fit to make sure everything lined up. I laid the molding along the edges of the bookshelf, making sure the corners met properly. This helped me identify any pieces that needed a little extra trimming.
Next, I applied the construction adhesive to the back of the molding. I ran a thin, even bead along the entire length. Then, I carefully pressed the molding onto the bookshelf, holding it in place for a minute or two to let the adhesive set a bit. I use a damp rag to wipe any glue right away that might come out!
Finishing Touches
After all the molding was glued on, I let it dry completely. Then, I used caulk to fill in any small gaps between the molding and the bookshelf, and also in the corners where the molding pieces met. This made everything look super smooth and professional.
After caulk was dry, I sanded all of coners by sandpaper and paint the bookshelf with the color I choosed.
And that’s it! My bookshelf has a whole new look thanks to some simple flat plastic trim molding. It wasn’t the easiest project, but definitely doable with a little patience and the right tools.