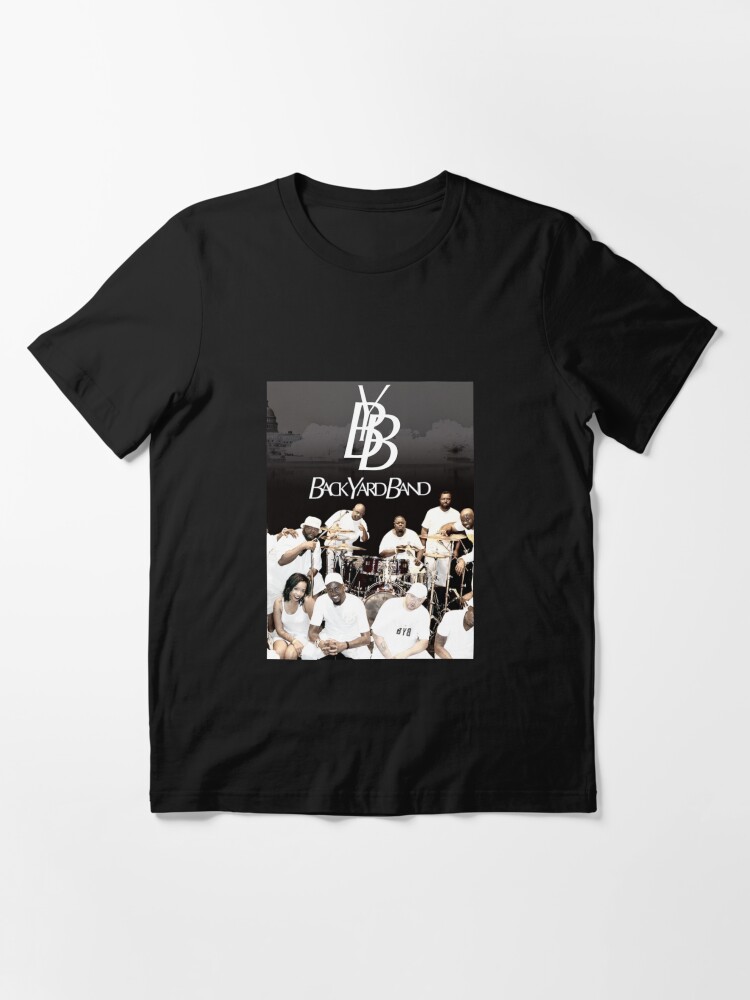
Okay, so I’ve been wanting a Backyard Band t-shirt for a while, you know, to represent. I looked around online, but honestly, nothing really caught my eye. Either the designs were kinda lame, or the shirts themselves looked cheap. So I thought, “Screw it, I’ll just make my own!”
First, I needed a plain t-shirt. I went to the local craft store and grabbed a basic black cotton tee. Make sure it’s 100% cotton, or the transfer might not work right! I washed and dried it first, too. Gotta get rid of any sizing or anything that might mess with the design sticking.
The Design
Next up, the design. I’m no artist, so I kept it simple. I just wanted the band’s name in a cool font. I played around with some different fonts on my computer until I found one I liked. You can find tons of free fonts online, just do a little searching. Once I had the font, I typed out “Backyard Band” and sized it to fit nicely across the chest of the shirt.
Then, I flipped the image. This is super important! You need to mirror the image so that when you iron it onto the shirt, it reads the right way. Most design programs have an easy way to do this, just look for a “flip” or “mirror” option.
Printing and Ironing
I printed the design onto some iron-on transfer paper. You can get this stuff at most craft stores or online. Make sure you get the right kind for your printer (inkjet or laser) and for the color of your shirt (light or dark fabric). I followed the instructions on the transfer paper package exactly. Different brands might have slightly different instructions, so don’t skip that part!
- print images.
- check print images.
Once it was printed, I carefully cut out the design, leaving a small border around the letters. Then, I positioned it on the shirt, making sure it was centered and straight. A ruler helped with this.
Ironing time! I set my iron to the highest setting (no steam!) and, following the transfer paper instructions, I ironed over the design. I put a lot of pressure on it and moved the iron slowly and constantly. This part took a while, like several minutes. You gotta make sure the design really adheres to the fabric.
- prepare iron.
- Ironing print image.
- check print image.
The Final Result
After it cooled completely, I carefully peeled off the backing paper. And… boom! My very own Backyard Band t-shirt! It turned out pretty good, if I do say so myself. It’s not perfect, but it’s unique, and I made it. That’s the cool part. Rocking my own custom tee feels pretty awesome!