Alright, so this flamethrower idea with Lego. It wasn’t some grand plan, you know? I was just sitting there the other day, staring at my big tub of mixed Lego bricks – the one my kids mostly ignore now unless they want something specific and make me find it.
Getting the Idea Rolling
I figured, why not try to build something a bit… different. Something you wouldn’t normally see made of Lego. And the word “flamethrower” just popped into my head. Not a real one, obviously! Just the shape, the look of it. Something chunky and a bit mean-looking, but still, you know, Lego.
So, I tipped out a good portion of the bricks onto the floor. Chaos, as usual. My wife walked past, gave me that look, the one that says “you’re not tidying that up, are you?” She knows me too well.
The Actual Building Part
First off, I needed a main body. Something to hold onto. I started grabbing a bunch of those longer Technic beams, the ones with all the holes. Snapped them together, trying to get a decent grip. It took a bit of fiddling, adding some flat plates to make it feel more solid. Didn’t want it to feel like it would fall apart if you looked at it funny.
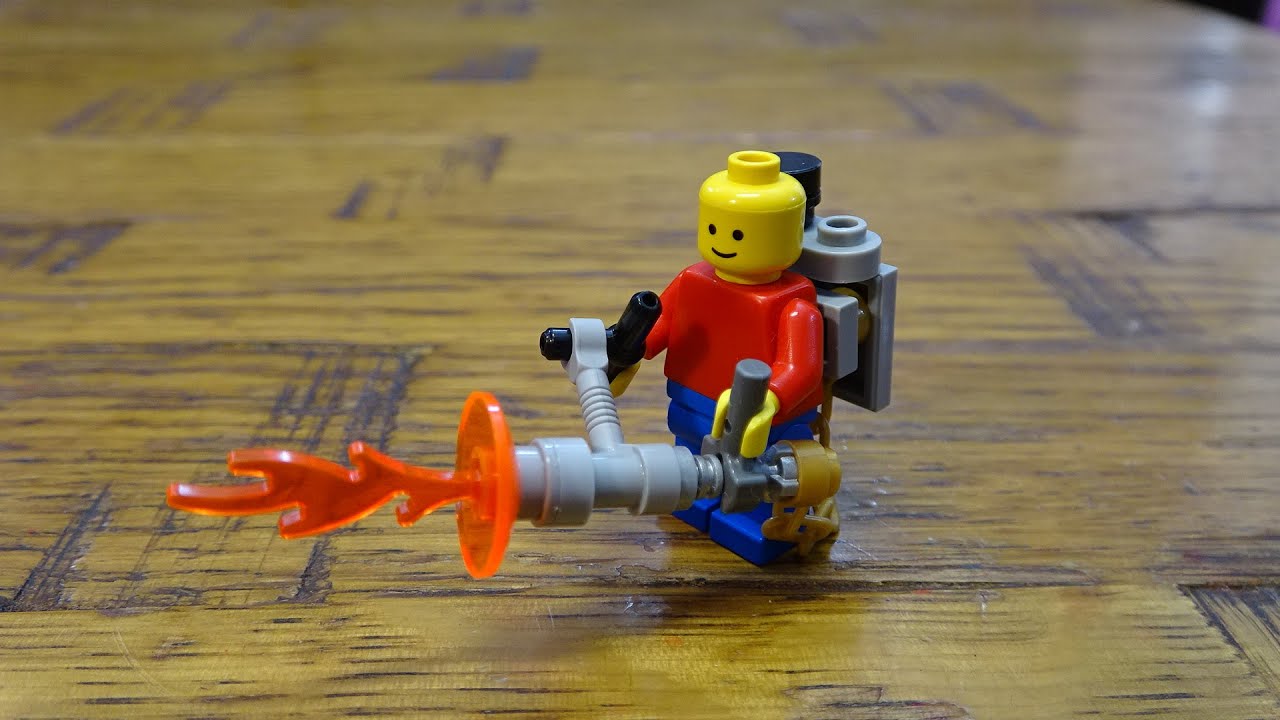
Then came the nozzle. This was the fun bit. How do you make Lego look like it’s about to shoot fire? I rummaged around and found a good stash of translucent pieces – oranges, reds, a few yellows. Started stacking them, those cone pieces and some of the angled flame-like bits. Tried a few combinations. At first, it looked a bit pathetic, more like a sad candle. But after layering them and making it a bit longer and wider at the base, it started to look pretty decent, like a big burst of plastic fire.
Of course, every good pretend flamethrower needs a trigger. Didn’t go too complex here. Used a few Technic pins and a small liftarm piece. Rigged it up so it could pivot. Gave it a little click when you pressed it. That was important, the click. Made it feel more… interactive, I guess.
And the fuel tank! Couldn’t forget that. Just made a chunky, sort of cylindrical block on the back. Used a bunch of 2×4 bricks and some curved slope pieces to give it a bit of shape. I even found a couple of those old grey tap pieces and stuck them on top, like valves. Details, you know?
Putting It All Together and The “Test”
Once all the main bits were done, I started connecting them. The nozzle to the body, the tank to the back. Had to reinforce a few spots. You pick it up, and one bit sags, so you add another support beam. The usual Lego engineering process.
And then, there it was. My Lego flamethrower. It was surprisingly hefty. I picked it up, aimed it at an imaginary target, made a “whoosh” sound. My son wandered in, saw it, and his eyes just lit up. “Whoa, what IS that?!” he asked. That’s when you know you’ve done alright with a Lego build, when the kid thinks it’s cool.
It’s not going to set the world on fire, literally or figuratively. It’s just a bunch of plastic bricks clicked together. But it was a fun couple of hours, a good way to just switch off and make something. Sometimes, you just gotta build something a little bit silly.