Alright, so I wanted to share my recent adventure with one of those prefab room addition kits. The house was starting to feel a bit, well, snug. Especially with me trying to get work done from home more often. Needed a dedicated space, you know? Somewhere I could close the door and actually focus.
Getting the Ball Rolling
I first started looking into traditional additions. Let me tell you, the quotes I got were eye-watering. And the timelines? Months, if not longer. That just wasn’t going to work for me. So, I started digging around online, and these prefab kits kept popping up. Honestly, I was a bit skeptical. Sounded too good to be true, right? A whole room, in a kit?
But the more I looked, the more it seemed like a viable option. I spent weeks, and I mean weeks, comparing different companies, reading reviews (you have to take those with a grain of salt, of course), and trying to figure out what was actually involved. Eventually, I found a kit that looked like a decent size for an office, and the instructions seemed, well, manageable from the online previews. So, I took a deep breath and placed the order.
Then came the prep work. This is where the “fun” really began. First off, permits. Oh boy, that was a journey in itself. Lots of paperwork, phone calls, and waiting. Then, I had to get the site ready. My backyard isn’t perfectly level, so that meant some serious digging and leveling. I decided to go with a concrete slab foundation. Thought I could do it myself after watching a few videos. Big mistake. Let’s just say I ended up calling a local contractor to fix my initial attempt and pour it properly. Some things are best left to the pros, lesson learned.
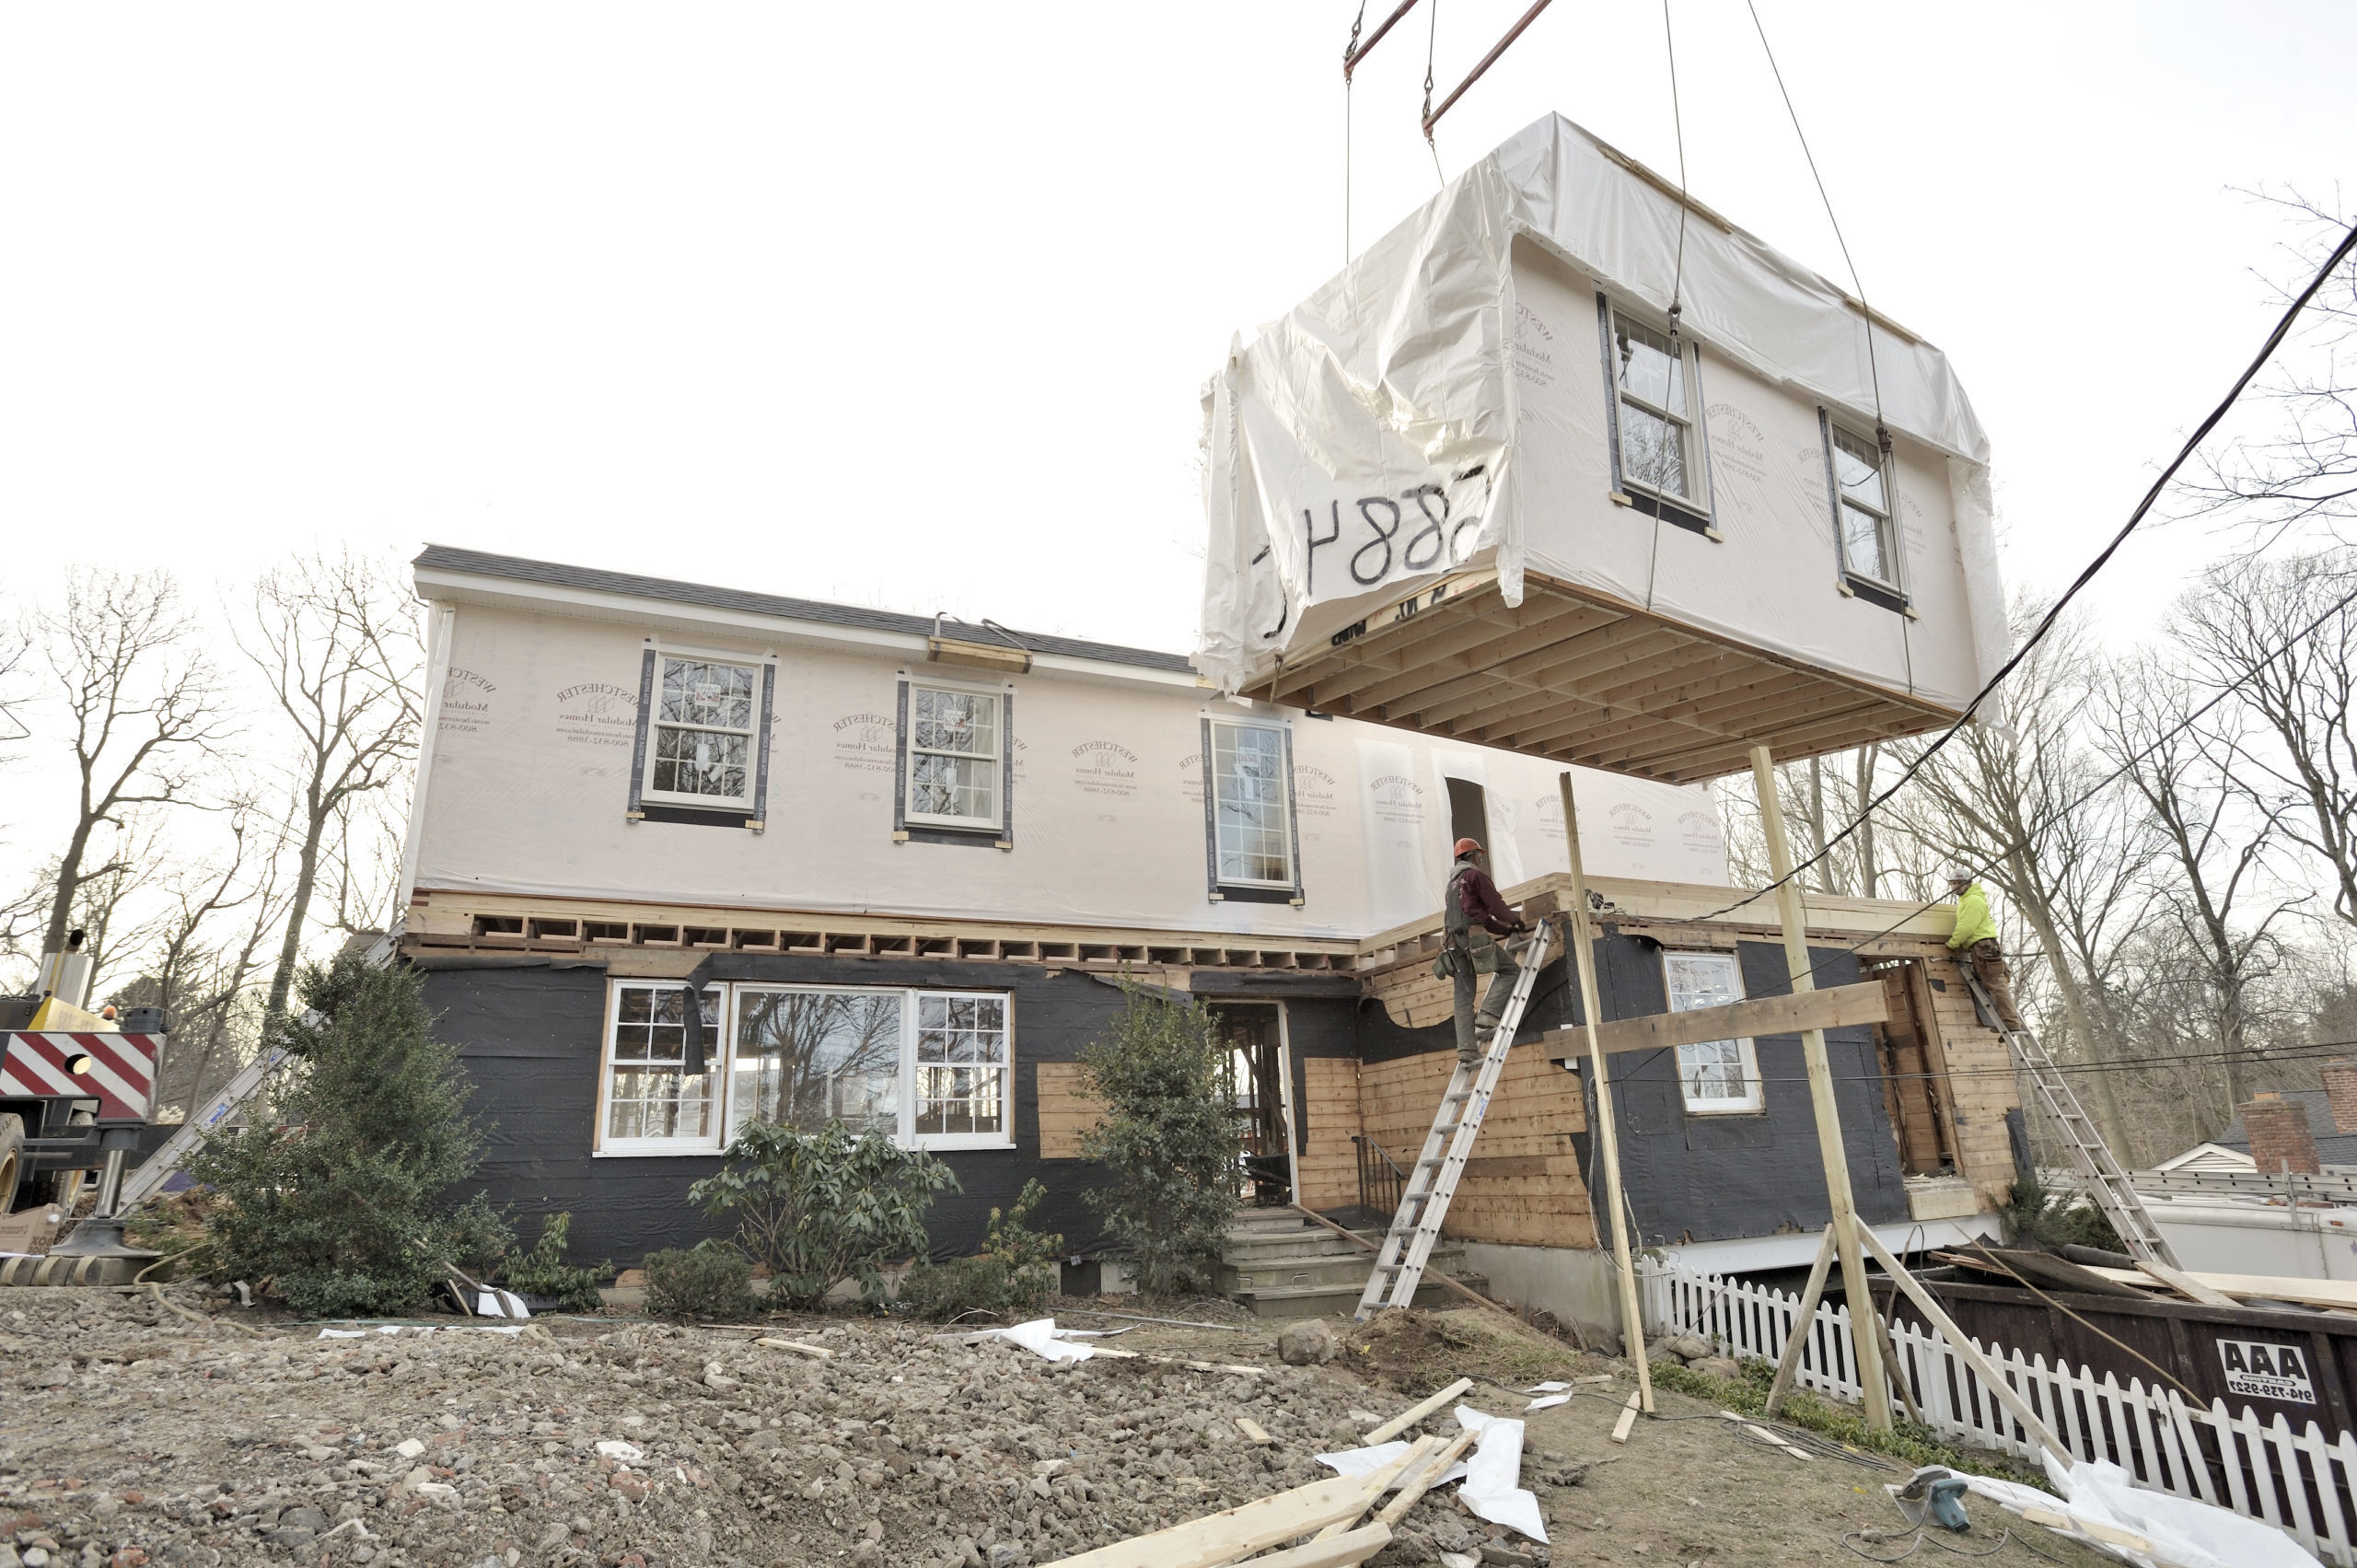
The Big Delivery and The Build
When the kit finally arrived, it was on this massive truck. A whole pile of pallets, shrink-wrapped and looking pretty intimidating. It was like Christmas morning, but instead of toys, I got a giant, heavy puzzle. My son and I spent a good afternoon just unboxing everything, checking the inventory list. Thankfully, everything seemed to be there.
The actual assembly, well, that was an experience. The instructions were mostly pictures, which was sometimes helpful, sometimes a bit like deciphering ancient hieroglyphics. Definitely a two-person job, at least for the main frame. My neighbor, bless his soul, offered to help on the weekends. There were moments of frustration, for sure. You know, when a panel wouldn’t quite line up, or a bolt hole was just a fraction off. We had a few choice words for the kit at times, I won’t lie.
- We learned to measure three times, then check again.
- A good set of clamps became our best friend.
- Patience, and lots of coffee, were key.
It wasn’t a quick process. We chipped away at it over several weekends. Slowly, though, it started to look like an actual room. Seeing the walls go up, then the roof panels, that was pretty satisfying. It was definitely a learning curve. I’m pretty handy, but this was a whole new level of DIY for me.
Finishing It Off and My Two Cents
Once the basic shell was up, there was still plenty to do. Running electrical was next. I hired an electrician for that – not messing with wires, thank you very much. Then insulation, drywall, painting, flooring. All those little things that turn a shell into a usable space. I took my time with this part, wanted it to feel like a proper room, not just a shed.
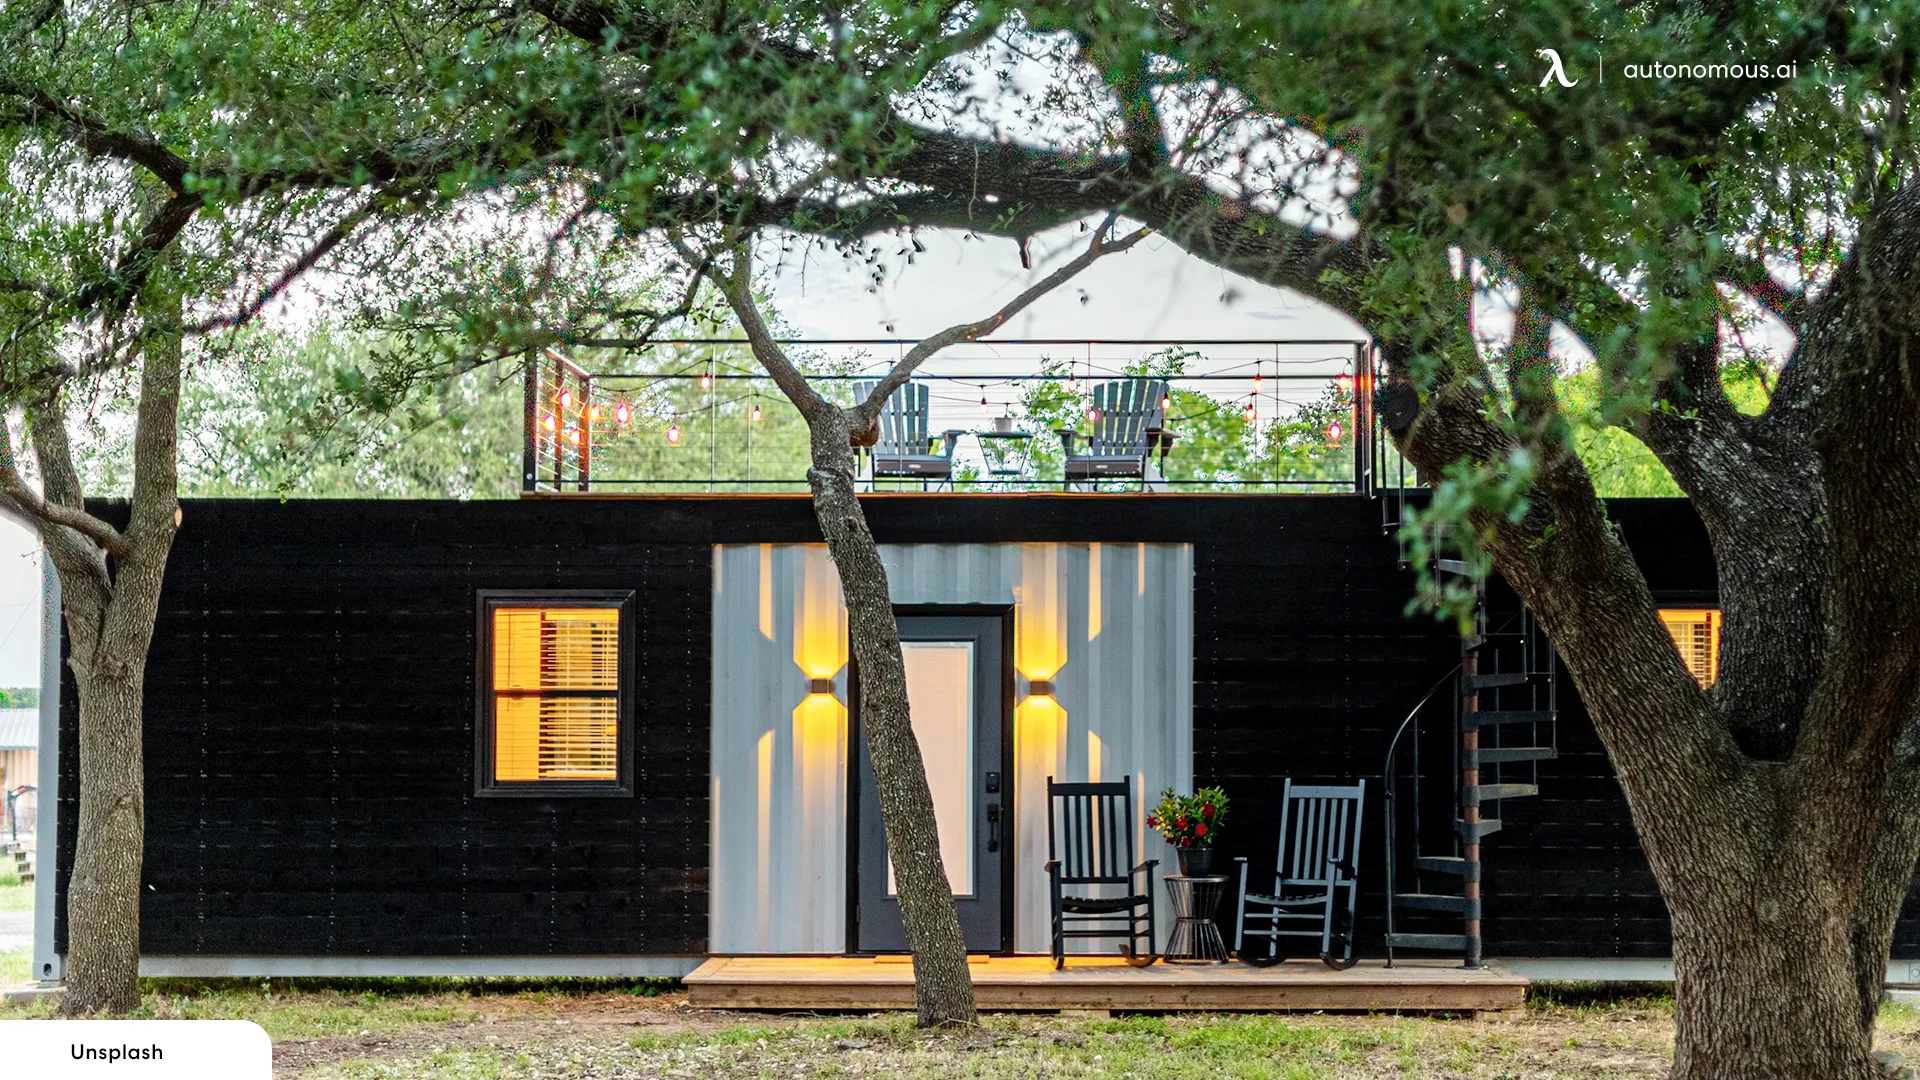
So, looking back, was it worth it? Absolutely, yes. It was a lot of work, more than I probably anticipated if I’m being honest. There were moments I wanted to just throw in the towel. But the sense of accomplishment now that it’s done is huge. And I have my quiet little office space, which has been a game-changer for my productivity.
Would I do it again? Maybe. But I’d go into it with my eyes a bit wider open about the amount of sheer effort involved, especially the site prep and the meticulous nature of the assembly. It’s not just “snap-together” like some brochures might imply. You definitely need some decent DIY skills, or be prepared to learn them fast, and don’t be afraid to call in help for the bits you’re not comfortable with. For me, it was a challenging but ultimately rewarding project. The kit itself was decent quality for the price, and now I’ve got the extra space I desperately needed.