Getting Started with this TKL Thing
Alright, so I’d been wanting a new keyboard for ages. My old one was, well, let’s just say it had seen better days. I kept seeing all these cool mechanical keyboards online, and the idea of building one myself started to grow on me. I’m not exactly a super techy guy when it comes to soldering and all that, so the “hot-swappable” part really caught my eye. Means I can just pop switches in and out. Easy peasy, right? And TKL – tenkeyless – seemed like the sweet spot. I barely use the numpad anyway, and it saves some desk space.
Hunting for Parts
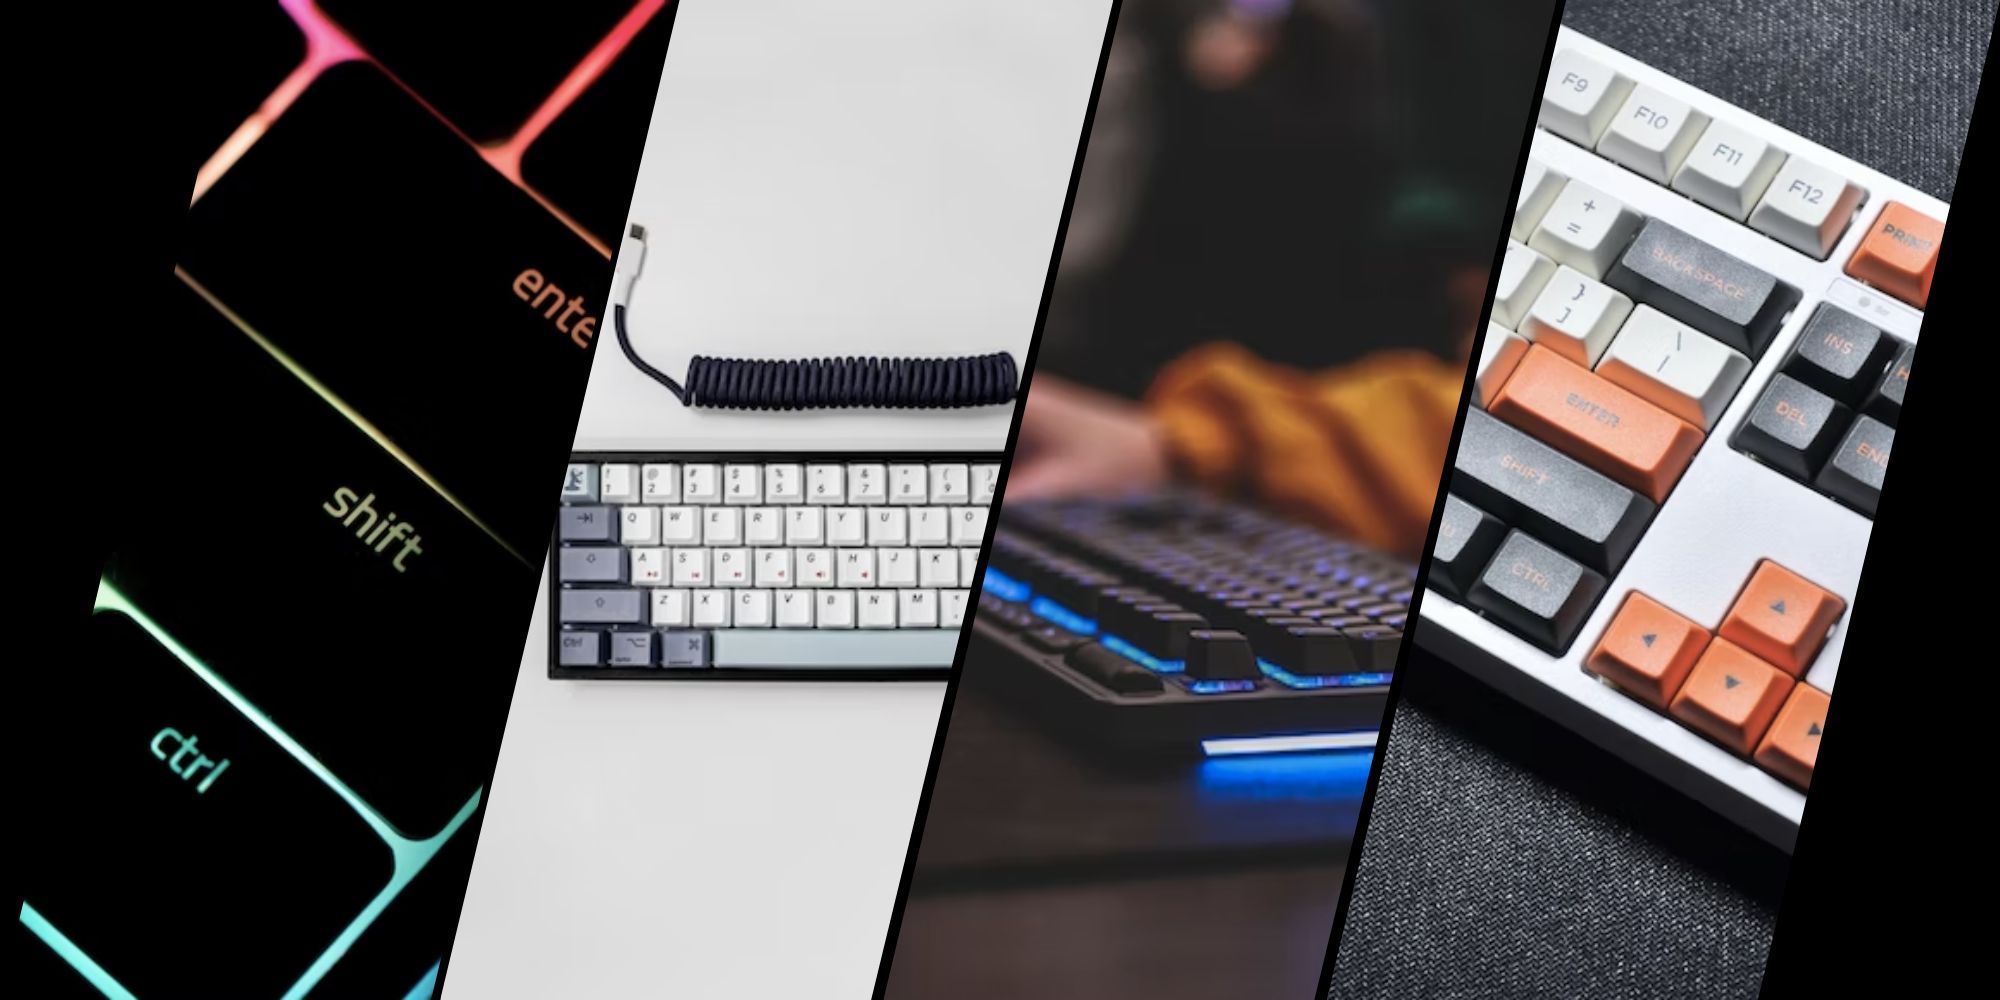
So, the hunt began. I spent, no joke, probably way too many hours looking at different kits, cases, PCBs, switches, keycaps… you name it. It’s a whole world out there! I kinda just wanted something straightforward for a first go. Eventually, I settled on a basic TKL hot-swap kit. Nothing too fancy, but it looked solid. Picked out some switches that sounded like they’d be nice and clicky – ’cause if you’re going mechanical, might as well go for the sound, eh? And then the keycaps, found a set that I thought looked pretty neat.
Putting It All Together
When the boxes finally arrived, it was like a mini Christmas. Laid everything out on my desk. The case, the PCB, a bag of switches, the keycaps, and those little stabilizer things. First up, I had to get those stabilizers onto the PCB. Watched a couple of vids, seemed simple enough. Clipped ’em in. They say lubing them makes a big difference, but for this first time, I just wanted to get it working. Baby steps.
Then, I carefully placed the PCB into the case and screwed it in. So far, so good. The main event was next: installing the switches. This is where the hot-swappable magic happens. I just took each switch, lined up the pins with the sockets on the PCB, and pushed. That little click as each one seated? Super satisfying. Took a while to do all of them, but it was kinda relaxing, just methodically filling up the board.
- Lined up switch.
- Pushed it in.
- Heard the click.
- Repeated about 87 times.
Once all the switches were in, it was time for the keycaps. Just pressing them onto the switch stems. This part was quick and really made it start to look like an actual keyboard. Stood back and admired my handiwork for a sec. Not bad, not bad at all.
The Moment of Truth
Plugged it into my computer. Lights came on! That was a good sign. Opened up a text editor and just started typing. Oh man. The feel of it! So different from my old mushy keyboard. The clicks were just right, and every key press felt solid. I was pretty chuffed with myself, I gotta say. It actually worked!
Been using it for a bit now, and I’m loving it. The best part is knowing I can just pull out these switches and try different ones if I ever get the itch. No regrets on going the TKL hot-swappable route. If you’re thinking about it, I’d say go for it. It’s not as daunting as it seems, and you end up with something pretty cool that you put together yourself.