Today I wanna share a little project I did recently – making a Rubik’s Cube speaker. It all started when I saw this cool Rubik’s Cube online, and I thought, “Hey, wouldn’t it be awesome to turn this into a speaker?” So, I decided to give it a shot.
First things first, I ordered a Rubik’s Cube. I made sure to pick one that was big enough to fit a speaker inside but not so huge that it would look weird. Once it arrived, I got to work.

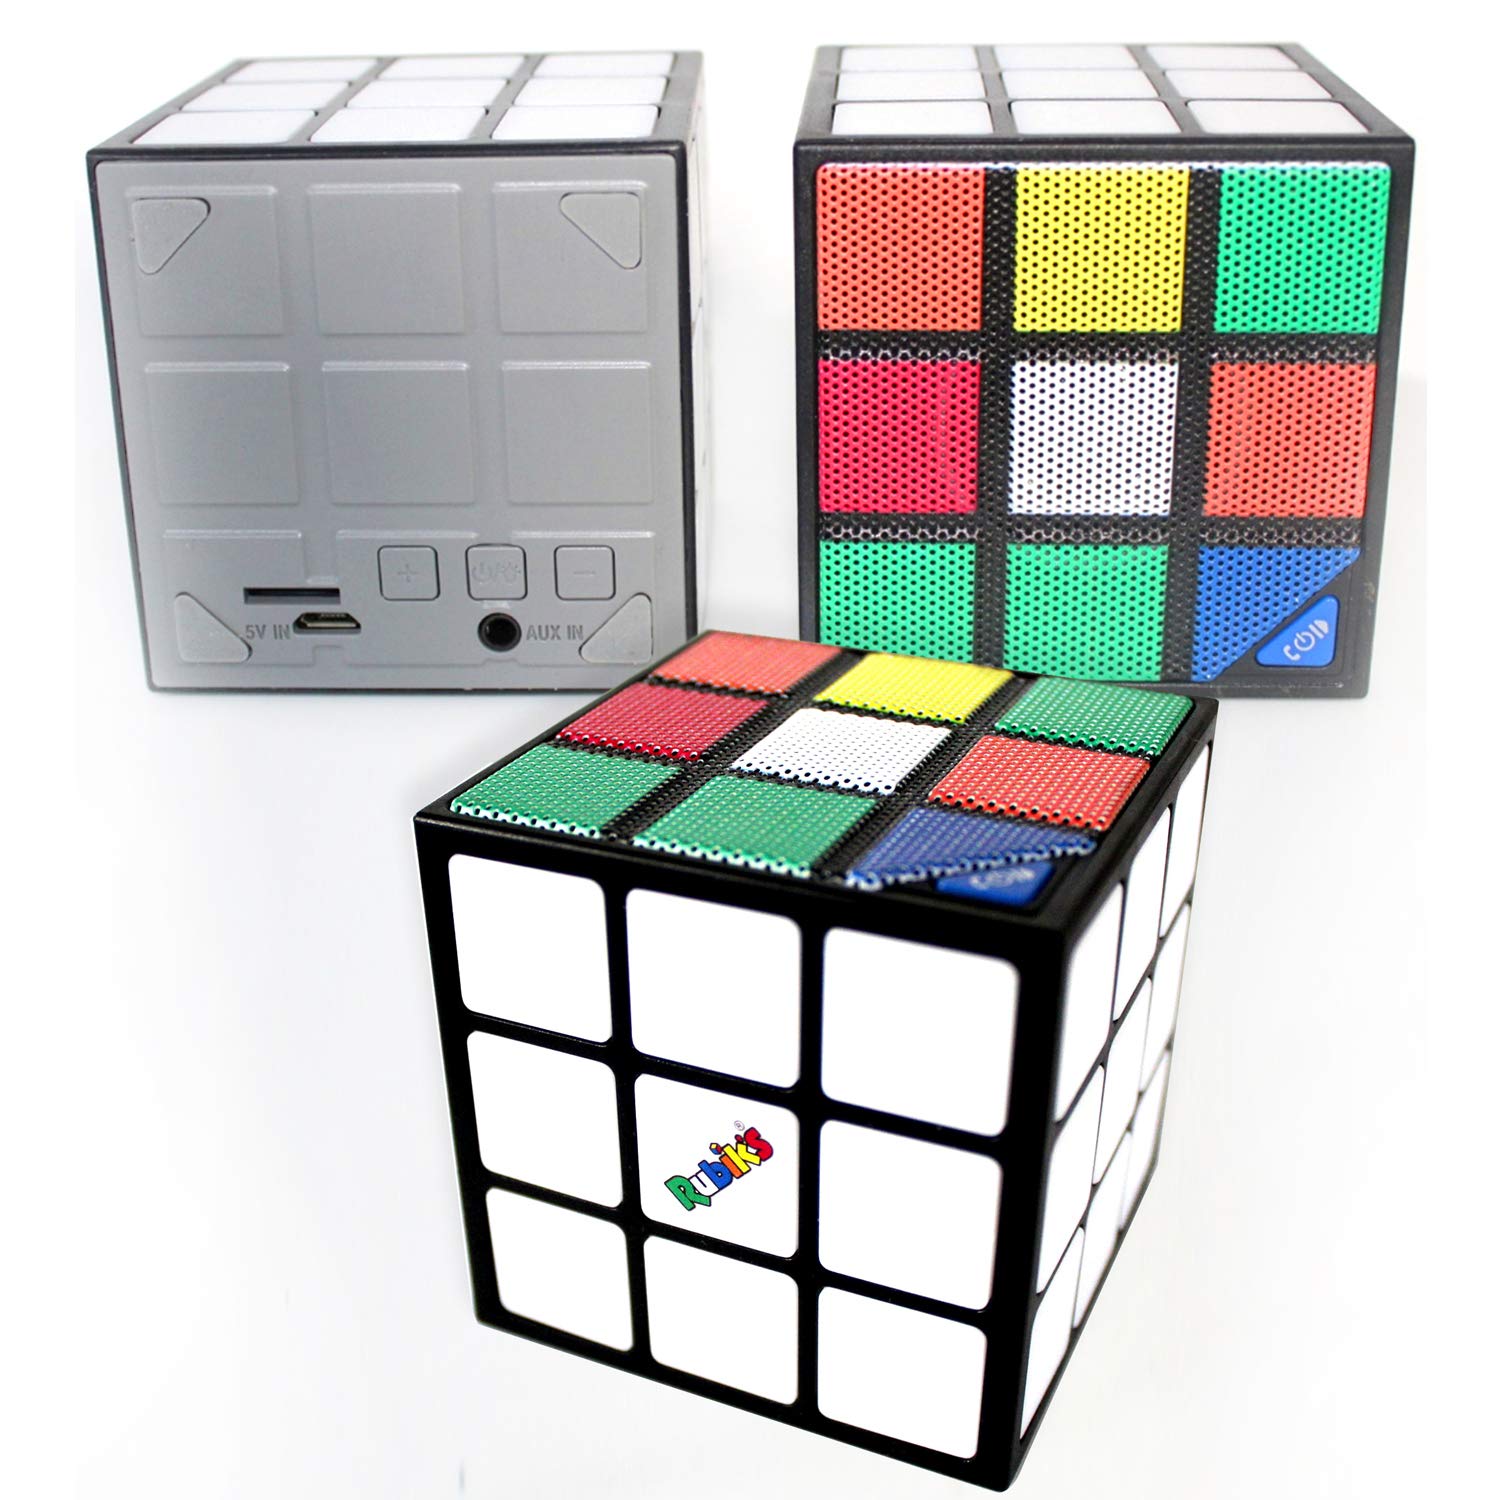
Disassembling and Prepping
The first step was taking the Rubik’s Cube apart. I carefully disassembled it, piece by piece. It was kinda fun, like solving a puzzle in reverse. I made sure to keep all the pieces organized so I wouldn’t lose anything. Then, I picked one side of the cube to be the front of the speaker.
Next, I needed to make a hole for the speaker driver. I used a small drill and carefully drilled a circle in the center of the chosen face. I went slow to avoid cracking the plastic. It took some time, but I finally got a nice, clean hole.
Installing the Speaker
With the hole ready, I grabbed a small speaker driver I had lying around. I tested it first to make sure it was working fine. Then, I carefully inserted it into the hole I had just drilled. I used some strong glue to secure it in place. I made sure it was flush with the surface so it wouldn’t stick out.
- Disassembled the Rubik’s Cube.
- Drilled a hole for the speaker driver.
- Installed the speaker driver and secured it with glue.
Wiring It Up
Now came the tricky part – wiring. I’m not an electrician, but I know the basics. I connected the speaker driver to a small amplifier board. Then, I wired the amplifier to a Bluetooth module so I could play music wirelessly. It was a bit fiddly, but I managed to get everything connected properly. I tested it a few times to make sure the sound was coming through clearly.
Reassembling and Final Touches
Once the wiring was done, I carefully reassembled the Rubik’s Cube. I made sure all the pieces fit back together correctly, and I used a bit of glue to keep everything in place. I also added a small power switch and a charging port to the back of the cube. It took some patience, but it finally looked like a Rubik’s Cube again, except now it had a speaker inside!
Finally, I turned it on and connected my phone via Bluetooth. I played some music, and bam! It worked! The sound quality wasn’t amazing, but it was definitely decent for a DIY project. I was pretty proud of myself for turning a simple Rubik’s Cube into a functional Bluetooth speaker.
It was a fun little project, and it’s now sitting on my desk, playing my favorite tunes. Not bad for a weekend’s work, right?