Okay, so I’ve been seeing these raffia bags and accessories everywhere lately, and I thought, “I can totally make that!” I’m a big fan of DIY projects, especially when it comes to trendy stuff. It’s way more fun (and usually cheaper) than buying it. So, I decided to try my hand at working with raffia-effect yarn.
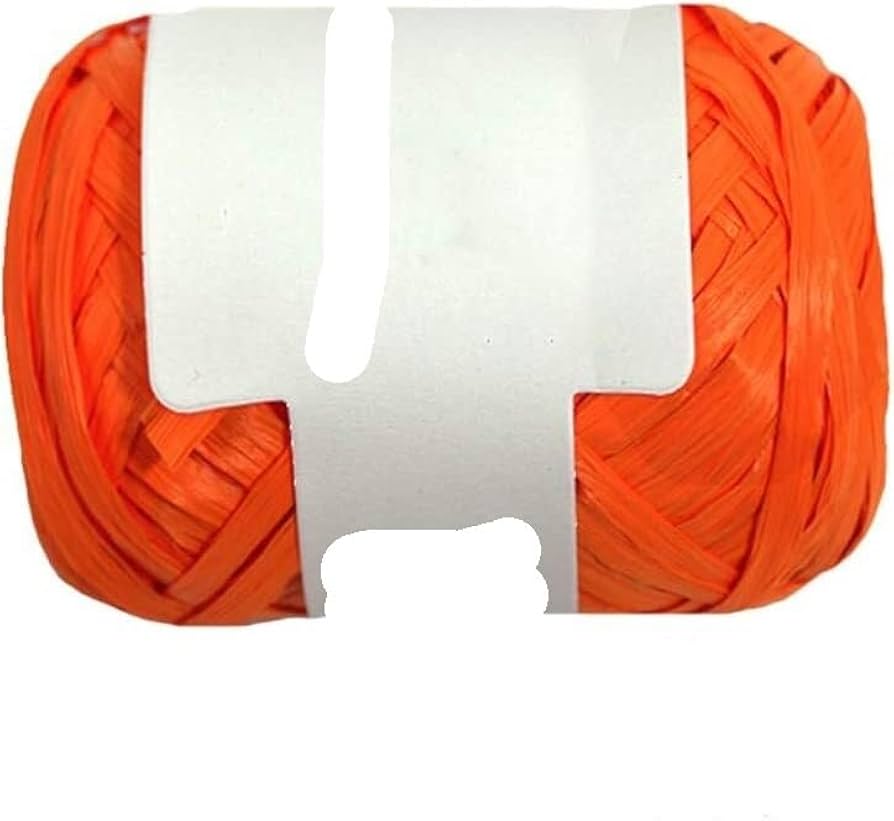
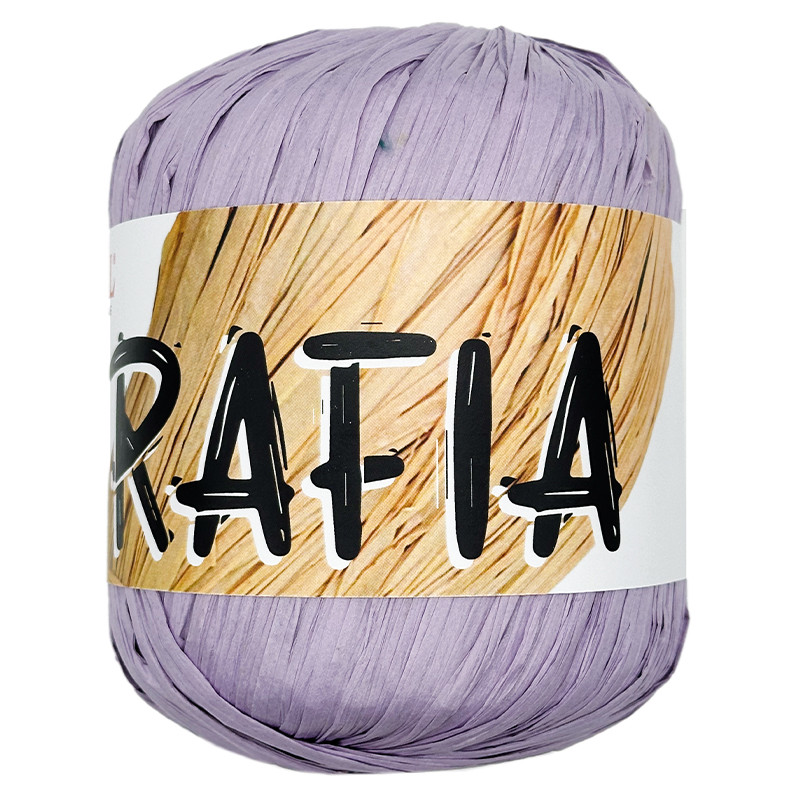
First things first, I needed to get my hands on some of the yarn. I started by hitting up my local craft stores, but honestly, the selection was pretty limited, most of them were the paper raffia. Luckily,I found some variation online.
Once I had the yarn, I needed to figure out what to make. I decided to start simple with a small coaster. I mean, if I messed it up, it wouldn’t be a huge waste of yarn, right?
I grabbed a crochet hook – I went with a 4mm one, but you might need to adjust depending on your yarn and how tight you crochet. Then, I got down to business. I started with a simple magic ring and single crocheted around, slowly increasing to make a flat circle. Seems easy enough, but it’s a little hard to work on.
- It’s kinda stiff, so you gotta use a bit more muscle than usual.
- The texture is also a bit different, It’s not as smooth as regular yarn, it can be a little rough on your fingers.
I kept going, round and round, until I had a coaster that was a decent size. Honestly, the first one was a bit wonky. The edges weren’t perfectly even, and it was a little… lumpy. But hey, that’s part of the learning process, right?
So, I tried again. I focused on keeping my tension consistent and counting my stitches carefully. The second coaster came out much better! It was still a bit rustic looking, but that’s kind of the charm of raffia, isn’t it?
After my successfully made serval coaster, I feel I can make a raffia bag now!
My Little Tips
*’t be afraid to experiment with different hook sizes.
* it out and find a style and method that works for you.
* practicing!