Getting Started with this Chocolate Knafeh Idea
So, I had this craving, right? Not just for knafeh, but for something… different. Traditional is great, cheese is classic, but my brain kept yelling “chocolate!” And you know when your brain yells, you gotta listen, or it just won’t shut up. So, chocolate knafeh it was. Seemed like a wild idea at first, maybe even a bit sacrilegious to some, but hey, my kitchen, my rules.
Wrangling the Ingredients
First thing, gotta get your ducks in a row. Or in this case, your kataifi dough.
- Kataifi dough: That stringy stuff. Make sure it’s thawed properly if you got it frozen. This stuff can be a pain if it’s too cold or too dry. I just let mine sit on the counter for a couple of hours.
- Butter: Lots of it. Ghee is even better if you have it, gives it that nutty flavor. I just went with unsalted butter, melted a whole stick, maybe a bit more. No skimping here.
- Chocolate: This is the star, so don’t use cheap stuff. I used a mix of dark chocolate chips, the kind that are a bit melty, and a good quality semi-sweet bar I had stashed away. Chopped the bar up roughly. Figured the mix would give it some depth, you know?
- Sugar Syrup (Ater): You absolutely need this. You can buy it, sure, but it’s dead easy to make. Just sugar and water, boil it, squeeze in a bit of lemon juice so it doesn’t crystallize. I like a splash of rose water too, but that’s just me. Made a batch beforehand so it could cool down. Warm knafeh, cool syrup – that’s the way.
- Optional bits: Some crushed pistachios for the top. Always makes it look pretty, and adds a nice crunch.
The Messy Part: Putting it Together
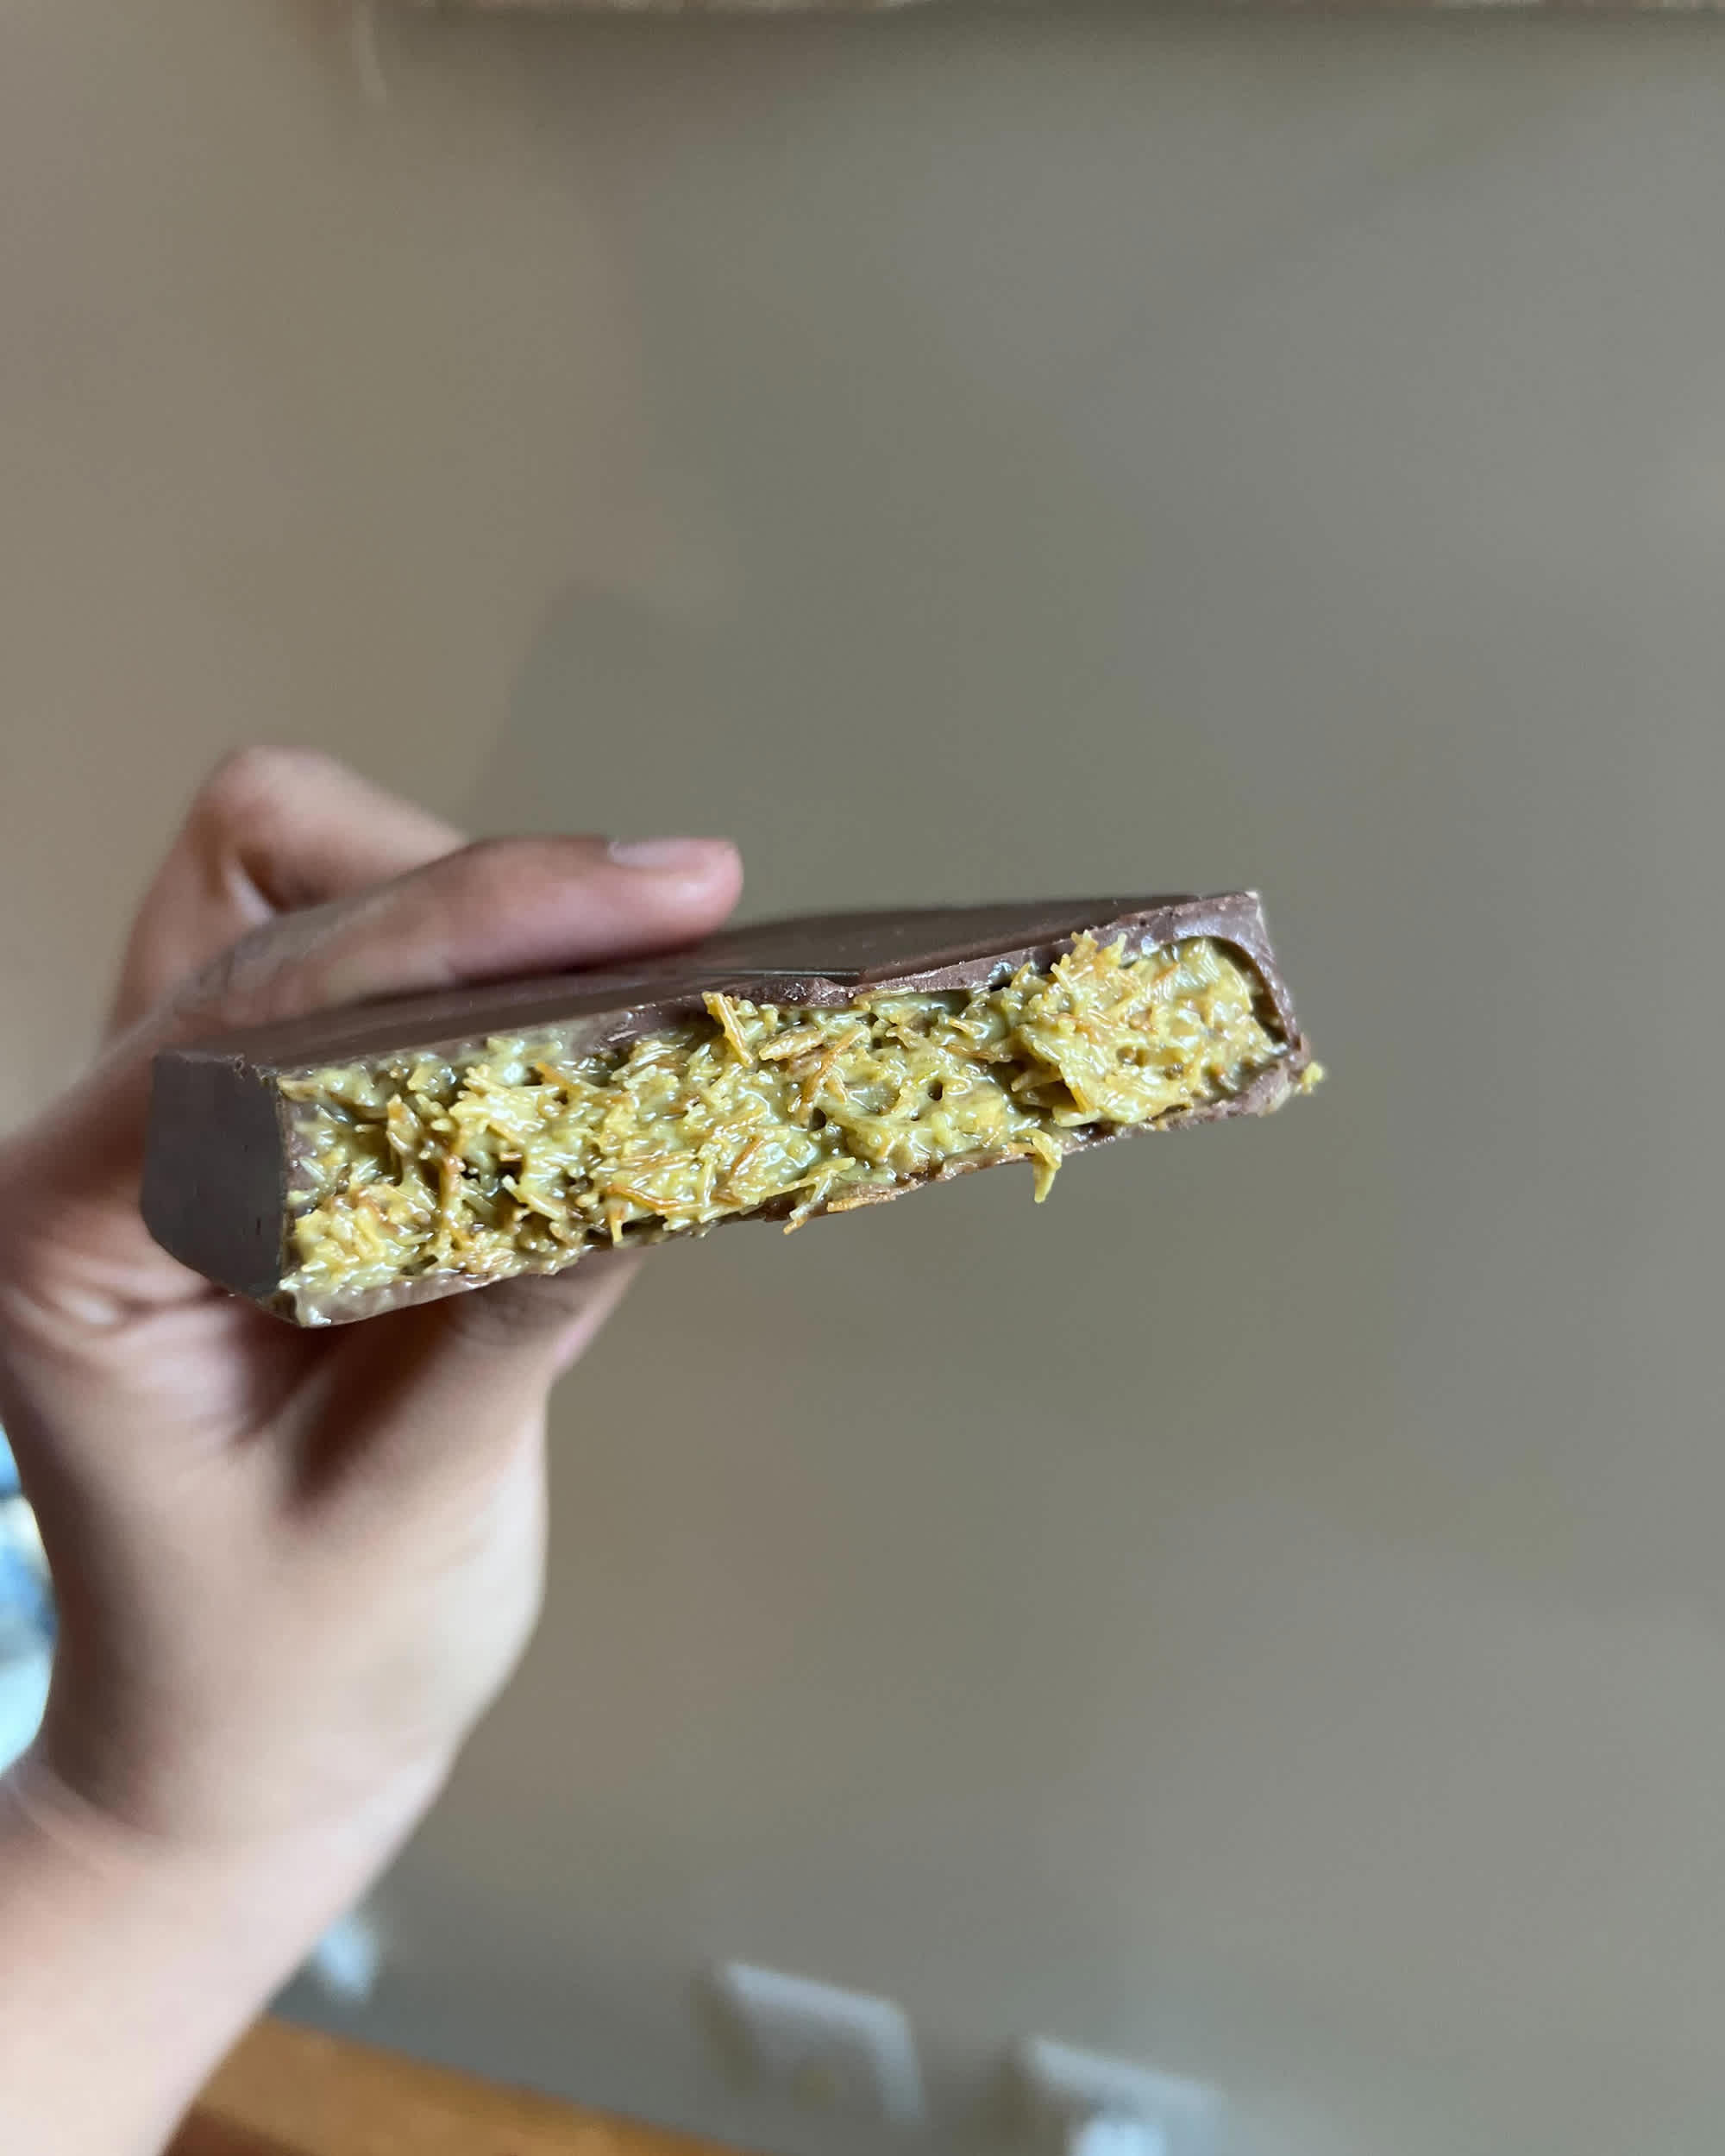
Okay, here’s where you get your hands dirty. I took that kataifi dough, dumped it in a big bowl. Pulled it apart into finer strands with my fingers. You don’t want big clumps, it just won’t bake right. Then, poured that glorious melted butter all over it. Used my hands to really work it in, making sure every single strand got some butter. This is key, no dry spots, or it won’t get that lovely crispiness.
Then I grabbed my trusty baking pan – nothing fancy, just a round one, maybe 9 inches. Greased it up good with even more butter. Can’t have too much butter, right? Split the buttery kataifi roughly in half. Pressed the first half into the bottom of the pan, making a nice even layer. Packed it down pretty firmly with the bottom of a glass. You want a solid base, something for the chocolate to sit on.
Next up, the chocolate. Spread all those chocolate chips and chunks over the kataifi base. Tried to get it even, but you know how it is. Some bits will inevitably have more, some less. That’s just the charm of homemade stuff.
Then, the top layer of kataifi. Carefully spread the remaining buttery dough over the chocolate. Again, pressed it down gently but firmly. Tried to seal the edges a bit, pinching it against the bottom layer, so the chocolate wouldn’t go absolutely everywhere while baking. Fat chance of it being perfect, but a man can dream.
Into the Fire (Well, Oven)
I preheated my oven, nothing too crazy, maybe 350°F (that’s about 180°C for you folks across the pond). Popped the pan in, middle rack. Now, the waiting game. You gotta keep an eye on it. I was looking for that beautiful golden brown color on top and peeking at the edges. Took about, oh, 30-40 minutes in my oven. Yours might be different. Ovens are like moody teenagers, each with its own personality and hot spots.
Some people do this whole thing on the stovetop, cooking one side then bravely flipping it onto another plate to cook the other side. Sounds like a recipe for disaster for me, especially with a molten chocolate filling. Oven felt safer. And honestly, less cleaning if it all went sideways and chocolate lava erupted everywhere.

The Sweet Finish
Once it was golden brown and looking absolutely delicious, I pulled it out. And here’s the magic trick, the part everyone loves: while it’s still piping hot, you pour that cooled sugar syrup all over it. You’ll hear it sizzle and hiss. That’s the sound of happiness, my friends. Don’t drown it completely on the first go, but give it a good, even soaking. The kataifi will just drink it up. I usually let it sit for 5 minutes then add a bit more if it looks dry.
Let it sit for a good 15-20 minutes at least, let that syrup really soak in and the chocolate to set up just a little so it’s not pure liquid. Then, sprinkled those crushed pistachios on top. Because, why not? Makes it look professional, even if the process was a bit chaotic.
The Verdict?
So, how did it turn out? Honestly, pretty darn good! The kataifi was super crispy, the chocolate was gooey and rich but not too sweet because of the dark chocolate, and the syrup just tied it all together. It’s definitely not your grandma’s traditional cheese knafeh, but it’s a fun, decadent twist. The family demolished it, which is always a good sign.
Things I learned, or re-learned:
- Chocolate quality really, really matters. Good chocolate makes a world of difference. Don’t cheap out.
- Don’t be shy with the butter. It’s what makes the kataifi crispy and golden. Calories don’t count on weekends.
- Patience with the kataifi shredding is worth it. Those fine strands make for a better texture.
- Cool syrup on hot knafeh. This is non-negotiable for me. Creates the best texture.
Would I make it again? Absolutely. No question. Maybe next time I’ll try adding a tiny pinch of sea salt on the chocolate layer, or a hint of orange zest to the syrup. Always room for experiments, right? That’s what cooking is all about. Trying stuff out, sometimes you make a mess, but mostly, you end up making tasty things to eat. And this one? This was definitely tasty.