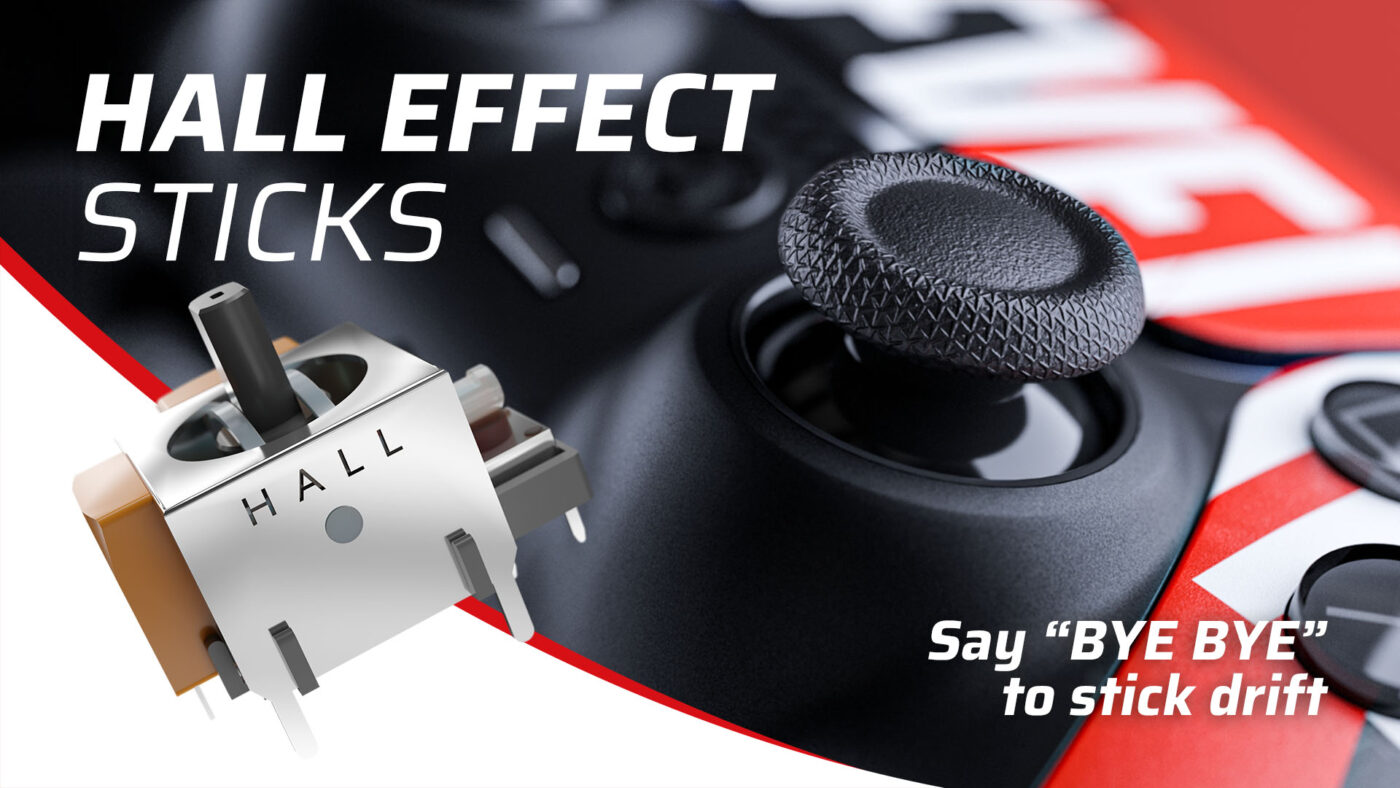
Okay, folks, gather ’round. I’ve got a little story about my recent adventure with my PS5 controller. It’s all about tackling that dreaded stick drift, but with a bit of a modern twist – we’re talking Hall effect sensors.
The Annoyance Begins
So, there I was, deep into a game, and my character starts veering off to the side like he’s had one too many. Yep, the classic stick drift. It started subtly, but man, it got infuriating pretty quickly. I tried all the usual tricks – cleaning, recalibrating – but nothing really stuck. My trusty DualSense was starting to feel like a liability. I wasn’t about to shell out for a new controller if I could help it, you know?

Doing a Bit of Homework
I started poking around online, seeing what other people were doing. That’s when I kept seeing “Hall effect” pop up. The idea is these sensors don’t rely on physical contact like the old potentiometers, so they shouldn’t wear out and start drifting. Sounded pretty good to me. A bit more robust, a bit more long-term. I thought, “Alright, let’s give this a shot.” I managed to find a set of Hall effect joystick modules specifically for the PS5 controller. Didn’t take too long to arrive, thankfully.
The Teardown: Getting My Hands Dirty
Right, so the parts arrived. Next up: surgery. Cracking open the DualSense isn’t super difficult, but you do need to be patient. Take your time, seriously. There are a few hidden screws and a bunch of clips. I used a plastic pry tool, which really helped avoid scratching anything up.
Once inside, it’s a bit of a maze of ribbons and small connectors. I made sure to take a few pictures with my phone as I went along, just so I’d remember where everything plugged back in. The battery needs to come out, then a few more screws to get to the main board where the thumbsticks are soldered in.
Desoldering: The Not-So-Fun Part
This was the bit I was least looking forward to. Desoldering the old joystick modules. There are quite a few pins for each stick, and they’re through-hole. I got out my soldering iron and my desoldering pump. Patience is key here. You don’t want to overheat the board or lift any pads. It took a while, wicking up the old solder bit by bit. It’s a fiddly job, no doubt about it. My first one was a bit messy, but I got the hang of it by the second.
Soldering in the New Goodness
With the old sticks out, cleaning up the holes with some desoldering braid made the next step easier. Placing the new Hall effect modules was straightforward; they fit perfectly. Soldering them in was much more pleasant than taking the old ones out. Just needed a steady hand and to make sure each pin had a good, clean solder joint. I double-checked everything with a magnifying glass afterwards, just to be safe.
Putting It All Back Together and the Moment of Truth
Reassembly was basically the reverse of taking it apart. Carefully reconnecting all those little ribbon cables, making sure everything snapped back into place. Got the battery back in, screwed the shell together. My fingers were crossed, let me tell you.

Then, the test. Fired up the PS5, connected the controller. Went into the controller settings, and then into a game. And… it worked! Smooth as butter. No drift. None. Zero. The sticks felt great, very responsive. It was a huge relief, and honestly, pretty satisfying.
Was It Worth It?
Absolutely. It took a bit of time and a steady hand, especially with the desoldering. But now I’ve got a controller that should, in theory, be much more resistant to stick drift in the future. Plus, I learned a bit more about how these things are put together. If you’re comfortable with a soldering iron and tired of stick drift, I’d say give it a go. Just take it slow and be careful. It’s a good little project, and the results speak for themselves.